
How To Make Fun Origami Santa (In 5 Minutes)
Christmas is full of joy and happiness. It’s the most beautiful time of the year. Let’s make something fun and cute this Christmas season with our family.
Do you like origami crafts? If you want to get creative this Christmas you can make this adorable origami Santa craft
You can do so many fun Christmas activities with your family. If you are planning a Christmas party and need some fun activities for children check out this content. You can decorate the Christmas tree, bake gingerbread, bake Christmas cookies, write letters to Santa, and maybe have a Christmas craft party.
Father Christmas brings so much joy and gifts in Christmas.
Learn to make Christmas holiday origami Santa Clause craft here on Arty Crafty Bee. This place is filled with amazing kids crafts and activities.
How To Make Christmas Origami Santa Craft
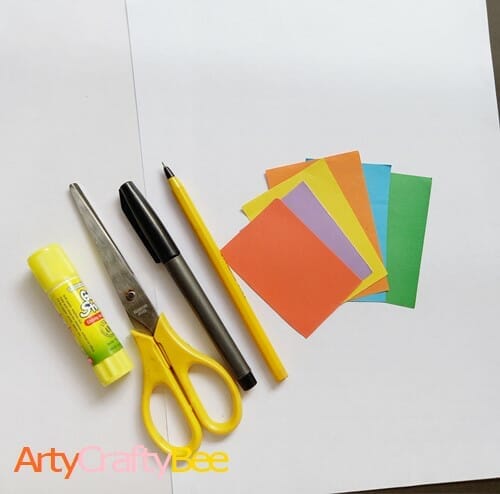
Supplies:
- Origami Craft Paper.
- Pencil.
- Ruler.
- Scissors.
- Glue.
- Googly Eyes.
- Marker Pens.
Instructions:
Let’s get started.
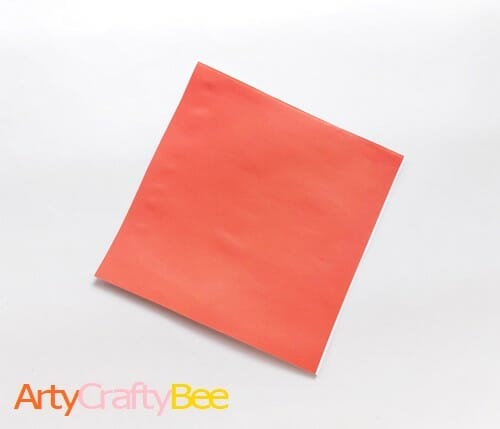
Origami Santa Step 1:
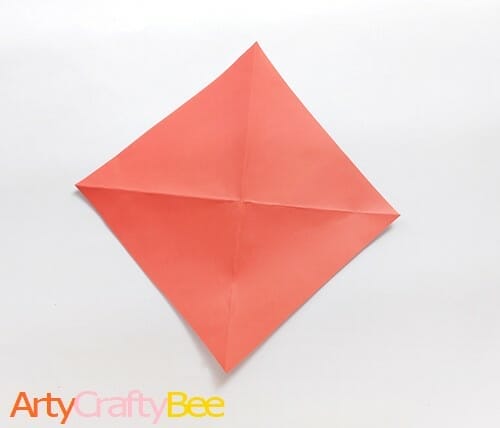
To make this adorable Origami Christmas Craft, you need to select your origami craft paper.
The origami square craft paper should be white on one side and red on the other side.
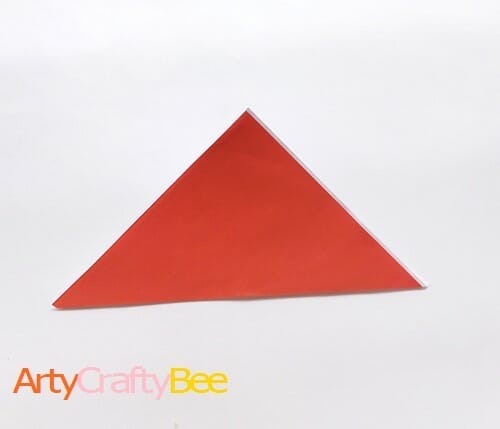
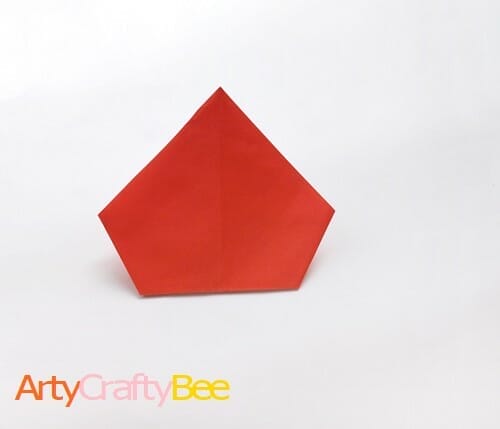
Santa Step 2:
fold the paper diagonally in half horizontally. The white part of the origami craft paper will go inside the folds.
Santa Step 3:
Now, open the fold and fold it again similarly but this time fold it vertically. Also this time the white part will stay inside the folds.

Santa Step 4:
Open up the fold. This will create an “X” crease on the origami craft paper.
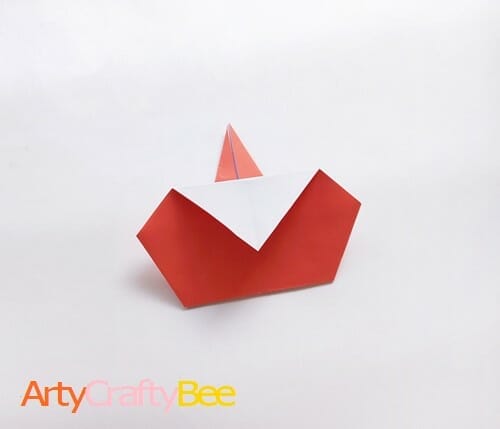
Santa Step 5:
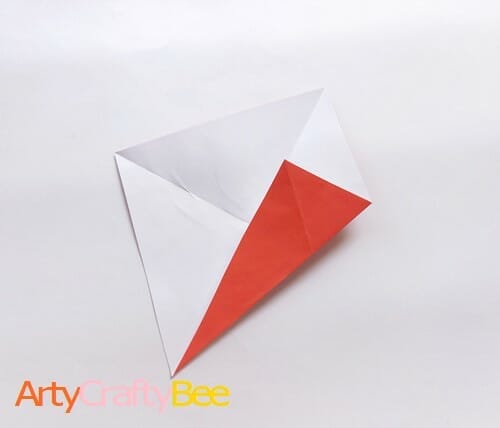
Place the origami craft paper diagonally and face the white part upwards.
Next, fold the right edge of the flap just beyond the vertical crease.
Santa Step 6;
Now, fold the left edge of the flap just beyond the vertical crease.
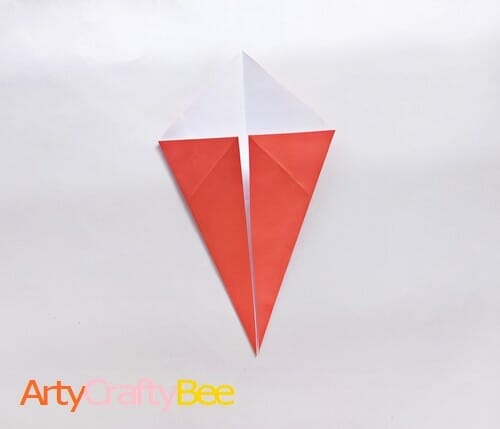
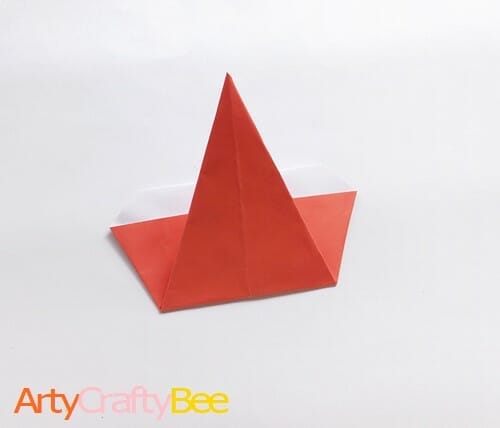
Santa Step 7:
Bring the pointed part on the bottom upwards and fold it in half along the pointed part on the top.
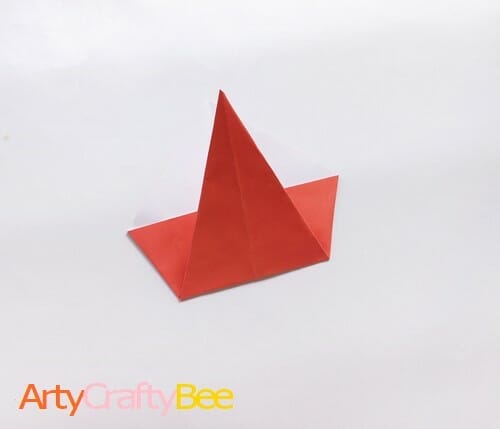
Origami Santa Step 8:
Take the origami model and flip it over to the other side,
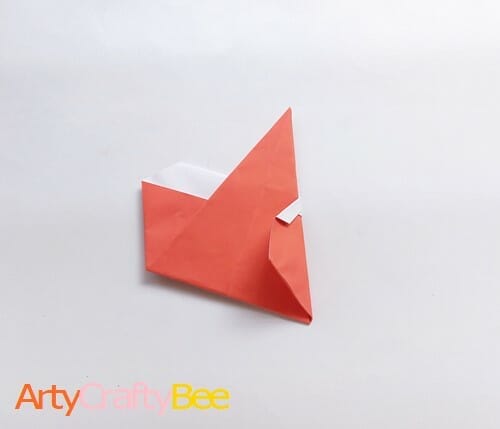
Origami Santa Step 9:
Take the pointed part and bring it downwards along the bottom line.
Origami Santa Step 10:
Now, make another small horizontal fold.

Origami Santa Step 11:
Flip the model over again to the other side.
Origami Santa Step 12:
Take the right flap and bring it over to the front and fold it there.
Origami Santa Step 13:
Similarly, fold the left flap as well. You can use glue to secure these folds.

Origami Santa Step 14:
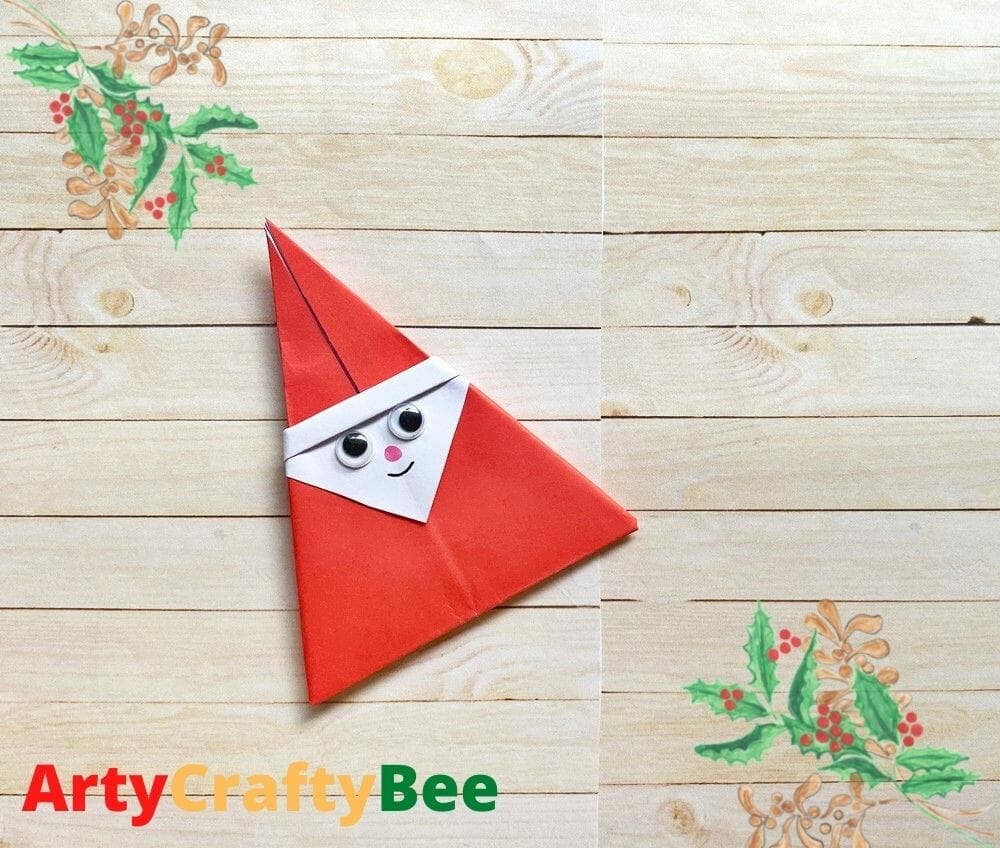
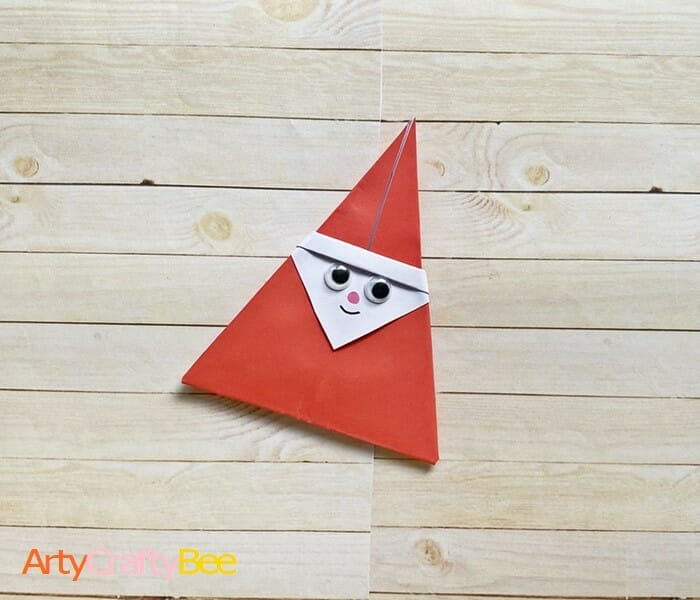
Turn it over. And ta-da! Here is your origami Santa.
Now you can decorate it the way you want.
You can draw the eyes and faces, or you can glue googly eyes.
How To Use This Origami Father Christmas Craft:
This origami Father Christmas craft is very useful. You can decorate your home with this Origami Father Christmas Craft.
You can also use this Origami father Christmas craft to decorate your Christmas tree as well.
This cute origami father Christmas craft can also be an amazing Christmas Gift for your friends and family.
Explore More Christmas Crafts:
How To Make A Popsicle Stick Snowman Ornament (+ 1 Free Templates)
How to Make Beaded Snowflake Ornaments for Christmas + Video
I hope you enjoyed our step by step Origami Father Christmas Craft project for kids and adults. Please share your thoughts on this craft in the comment box below. Subscribe and stay tuned here on our Arty Crafty Bee craft blog to discover more fun kids crafts every week. Thank you for staying with us. Have a lovely Happy Christmas.


Can also be an elf. BTW, who says it can’t decorate a hat?!