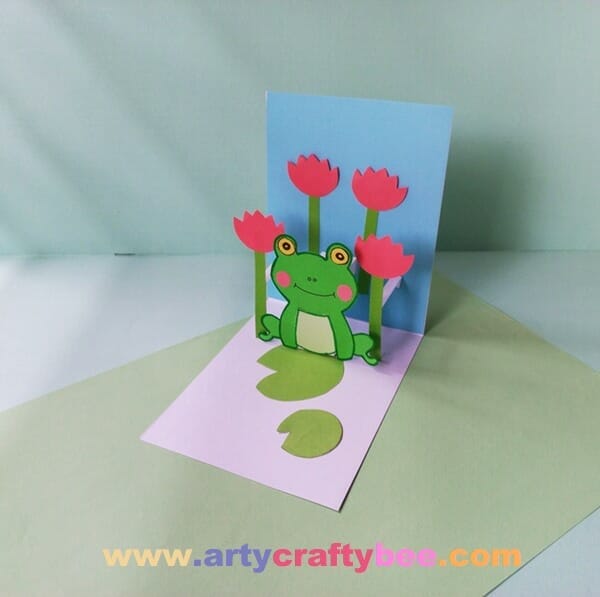
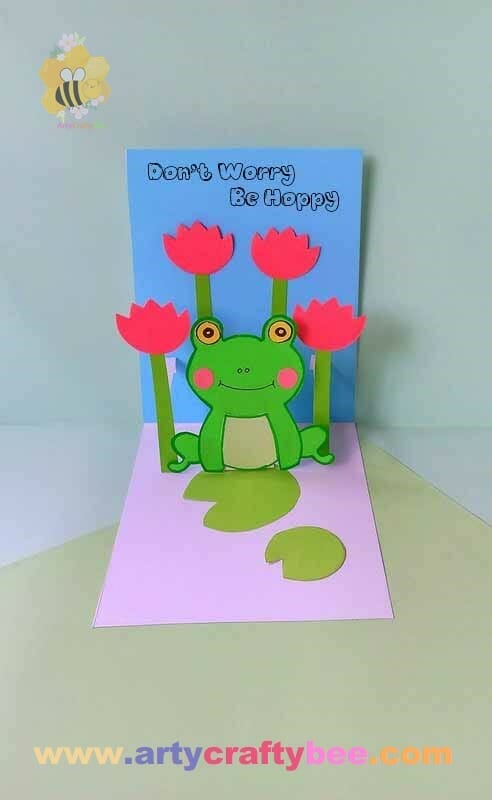
How To Make A Frog Pop Up Card Easy
Do you find frogs cute? Did you ever want to make a frog pop up card? I think pop up frog greetings cards are very adorable. Using this frog pop-up step-by-step card tutorial, you can also make pop-up frog birthday cards.
Ever since the spring season is getting closer I have been obsessed with making sprint animal crafts. And I think frog pop up cards and frog crafts are a great addition to my craft blog. Whatever kind of frog craft you want you might find it here. Last week we made a toilet paper roll frog craft. I really love making animal crafts, you don’t just have fun making the crafts you also get to learn so many interesting facts about the animals.
I made this frog pop up card that is suitable for lots of occasions. You can make this fun frog pop up card for birthdays and greetings cards.
How To Make A Frog Pop Up Card Craft
Materials and Tools:
- Craft Papers.
- Cardstock Paper.
- Pencil.
- Ruler.
- Glue.
- Marker Pens.
Download Frog Pop Up Card Template.
Step by Step Frog Pop Up Card Instructions:
Step 1: Cut Out The Pattern: Download the printable PDF templates from the link above. Gather the listed supplies to get started.
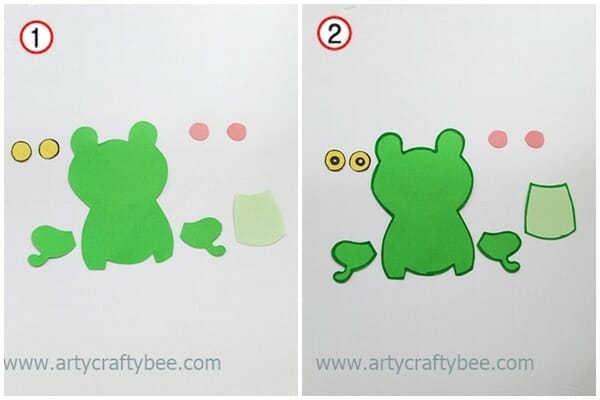
Use a pencil to trace the patterns from the templates on colorful craft papers and cut them out neatly.
Step 2: Draw Outlines:
Use a green shaded marker pen to draw outlines around the frog’s body and legs.
Then, use a black marker pen to draw the eyes.
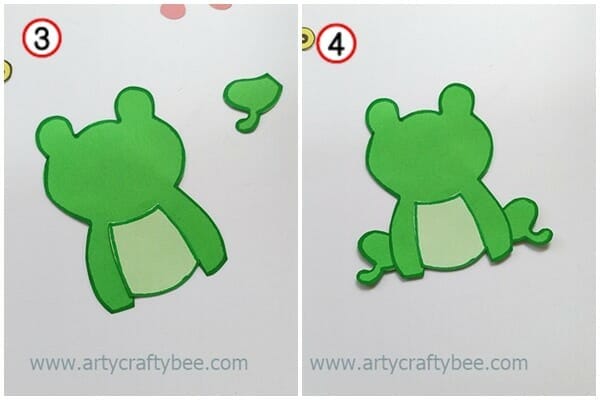
Step 3:Glue The Belly:
Glue the paper frog’s belly in the middle of the body below the paper frog’s head.
Step 4: Glue The Legs:
Glue the frog’s two hind legs on the two sides of the frog’s body.
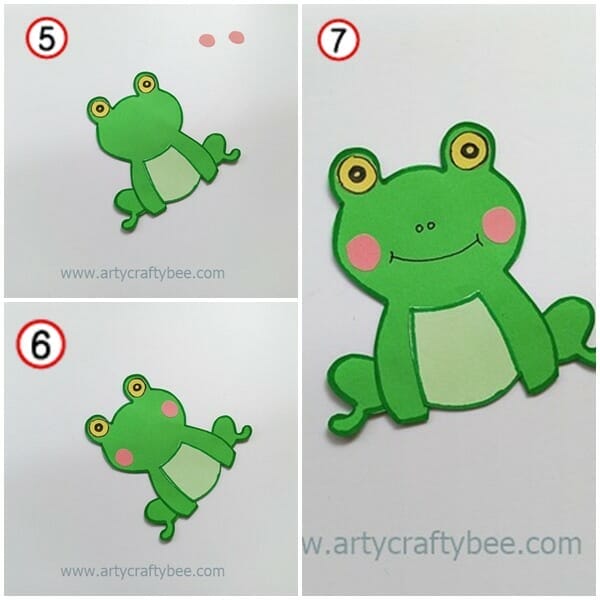
Step 5-6: Glue The Eyes and Cheeks:
Glue the frog’s eyes on the two sockets above the paper frog’s head,
Then, glue the two pink blushes on the two sides of the head.
Step 7: Finish Making The Paper Frog:
Use a black pen to draw the two nostrils and mouth on the paper frog.
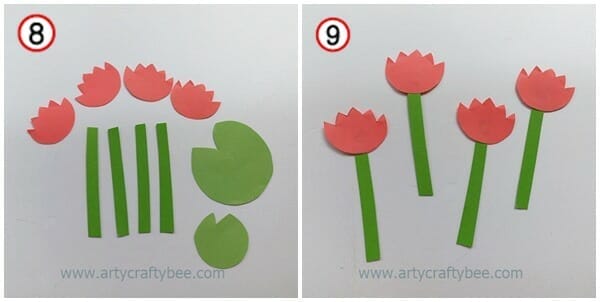
Step 8: Frog Pop Up Card Decoration:
Using the templates, use pink and green craft papers to cut out the flowers, stems and lilypads for the DIY frog pop-up card.
Step 9: Make The Paper Lillies:
Glue the flower’s stems with the flowers.

Step 10: Make The Card
Cut out your card from the cardstock paper. The card’s size should be 28 centimeters in length and 10 centimeters in width. Fold the card in half.
Step 11: Prepare The Background:
Cut out a blue-colored craft paper (10cm 14 cm). Glue it on the background of the card paper.
Step 12 Decorate The Frog Pop Up Card:
Take two paper flowers and glue them on the blue background.

Step 13: How To Make Pop Socket:
Cut out an 8-centimeter long and 2-centimeter width cardstock paper strip.
Fold the cardstock strip in half.
Then, make a 1-centimeter crease on both ends.
Step 14: Lilypad:
Glue the large lilypad on the center of the car’s paper.
Step 15: Glue The Pop Socket:
Apply glue on the two creases of the paper strip, and then glue one end on the blue background and glue the other on the bottom part of the card.
Step 16: Make More Pop Sockets:
Cut out two more cardstock strips that are slightly thinner and 1 centimeter longer than the previous strips. Then, glue them on the two sides of the pop socket in the center. Keep 1-2 centimeters of the gap.
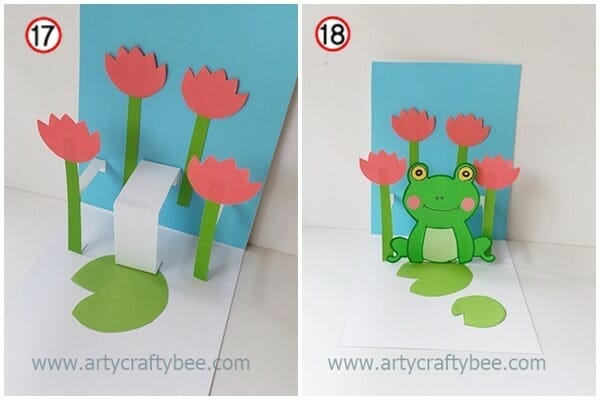
Step 17: Finish The Frog Pop Up Card Craft:
Glue the rest of the two flowers on the thin pop sockets.
Glue the frog on the center pop socket.
Glue the small lilypad on the card to finish making your frog pop up greeting card.
I hope you enjoyed this craft tutorial. If you want to see more pop up card crafts please visit our Arty Crafty Bee website.
If you want to see more frog crafts check out these crafts below.