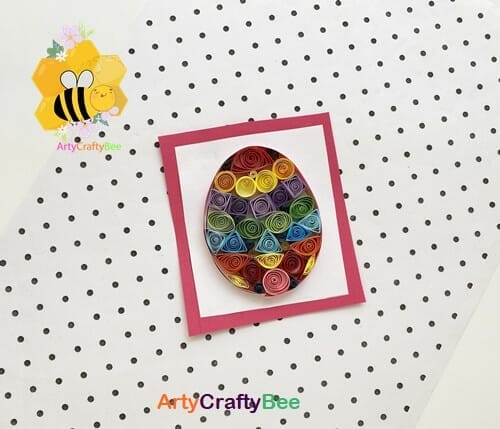
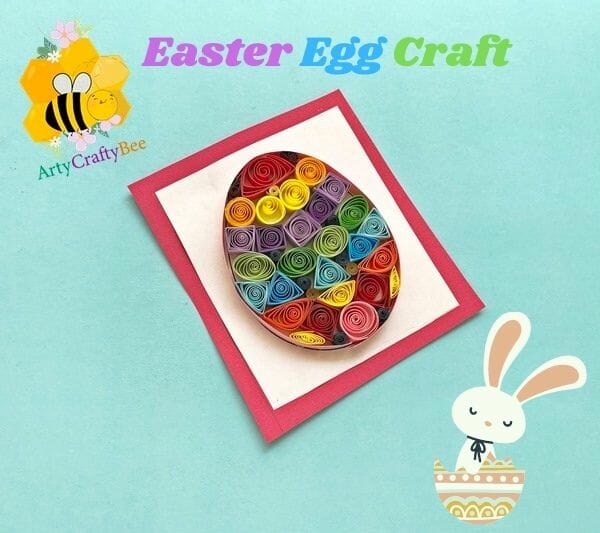
How To Make A Colorful Quilling Easter Egg Craft (1 template)
Learn to make paper quilling Easter egg Easter crafts for families.
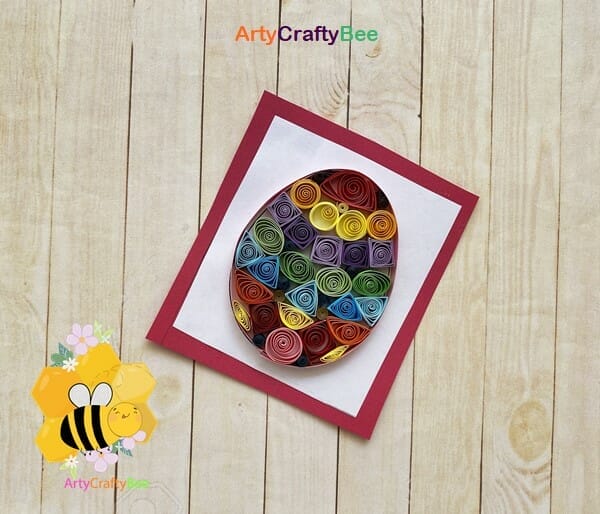
Are you looking for a quilled eggs tutorial? Do you want to make a quilling Easter egg? Check out this paper quilling Easter egg craft for Easter crafts 2022.
This easy quilling egg Easter crafts for kids can help children learn quilling art easily and also help to learn different shapes as well. This is also an Easter crafts for adults as well. Learn lots of quilling designs here in this step by step tutorial. Since Easter is near let’s find some quilling craft ideas for gifts and decorations.
How To Make A Quilling Paper Craft Eggs
Supplies:

- Quilling Craft Papers.
- Cardstock Papers.
- Pencil.
- Scissors.
- Glue.
- Quilling Tool.
- Quilling Scales.
Download Free Egg Template:
Click Here To Download The Template
Instructions:
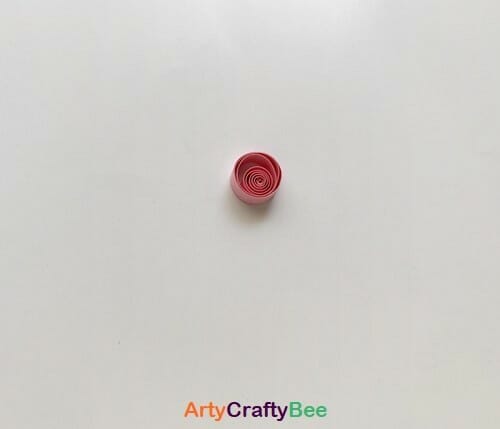
Step 1: Cut Out A Quilling Strip
Select a color to start with. According to the template you will need at least a 5 to 6 inches long quilling strip. Then, use the quilling tool to roll the quilling strip into a slightly tight coil (circular shape).

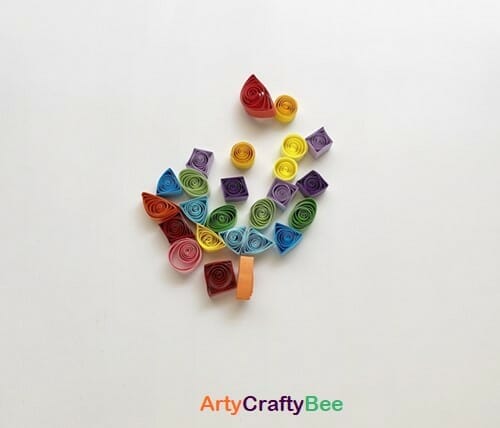
Step 2: Make More Shapes
Select more colors of quilling paper strips. and roll them into slightly tight coils, then press the circular shape to make more various quilling shapes, like triangles, squares, diamond shapes and also some half-circular shapes.
Step 3: Glue The Shapes
According to your egg shapes, select a shape that will fit perfectly on top of the egg shape. Take a half-circular quilling shape. Then, glue it on the top part of the egg shape.

Step 4: Add More Shapes
Take four circular quilling shapes of different shades of colors.
Now, glue the yellow circular quilled coils right beneath the half circular shape. Align the coils and glue them one after another.

Step 6: Glue The Square Shapes
Now, take another different shaped quilling piece, and also in two different shades of colors as well. Glue the purple square quilling shapes right under the previous circular shapes.

Step 7: Glue Rest Of The Shapes
Fill in the egg with more shapes and colors. Make some green oval shapes, blue triangle shapes and red diamond shapes. Fill in the egg using the shapes however you like, just make sure you use one shape at a time and in each layer. If you use too many shapes in one layer the egg wall appears disorganized.

Step 8: Take A Long Quilling Strip
For the border of the quilling egg, select a long quilling strip according to the length of the Easter egg’s circumference.

Step 10: Finishing Touch For The Quilling Egg
Now, make some tiny quilling coils.
Use different shades of colors to make the small circular quilling shapes. Then, fill in the empty gaps inside the quilling Easter egg using the tiny quilled shapes.
How To Use This Easter Egg Quilling Craft
Are you looking for some Easter Sunday activities for kids this Easter?
You can use this Quilling Easter Egg Craft for Easter decorations at your home.
This Easter Quilling Egg design can be used as a gift for Easter. You can make this very easy Easter Paper Quilling craft and send it to your loved ones as an Easter Sunday gift.
Check out our blog for more Easter crafts, DIY projects.
Explore more similar Easter Crafts For Kids:
How To Make An Adorable Easter Bunny Pop Up
Easter Hatching Chick Craft with Template
Thank you for staying with us this far. Please Subscribe to our website if you liked this craft and want to see more fun EXCLusive crafts for kids. We have crafts for all ages, all the crafts come with free templates that you can download with just one click.