Fun Paper Pinwheels Tutorial (3 Templates)
If your kids are bored and you want them to do some fun activities to cheer them up, then I think you should give this easy paper pinwheels craft a go! Learn how to make a pinwheel with paper using pinwheel templates.

Use the templates to make mini pinwheels and also large pinwheels. I have three different-sized pinwheels in the templates. And once you follow these step-by-step instructions on how to make pinwheel craft you can make pinwheels using any kind of paper you want.
So without further a due let’s get started with our paper pinwheel craft.
First thing first, you need to gather all the supplies and materials from the link below, and also remember to download the PDF templates.
Learn to Make Spinning Pinwheel Using A Straw:

Tools and Materials::
- Colorful Origami Craft Paper.
- Scissors.
- Thumb Pins.
- Plastic Straw.
- Glue.
- Pencil.
- Ruler.
How To Make Paper Pinwheels Craft For Preschoolers With Step-by-step instructions:
Download Paper Pinwheel Template.

Step 1:Preparation:
To make this easy pinwheel tutorial I will be using two shades of orange origami craft paper 5×5 inches. You can use craft paper for this pinwheel craft. If you are using craft papers cut the craft paper into a square shape.
Glue the two papers with each other back-to-back.

Step 2: Make Creases::
Make 2 diagonal folds on the square origami craft papers. Open up the fold and this will create 4 equal creases on the origami paper.
You can also use the PDF templates to make the folds.

Step 3: Cut The Paper:
Take a pair of scissors and carefully make your first cut along one of the diagonal creases.
According to the templates, stop cutting before you reach the centre point.
Similarly, make cuts on all four corners of the origami craft paper.

Step 4:First Fold:::
Take one corner point of the cut origami paper, then bring it towards the centre point of the paper.
Apply glue to join the corner with the centre.

Step 5: Second Fold:
Leave one corner and take the third corner of the origami paper, then bring it towards the centre as we did in the previous step. Apply glue to secure it with the centre.

Step 6: Last Fold:
In this step finish folding the other two corners using the same technique.
Apply glue to the centre to secure the folds. Leave the glue to dry properly before moving on to the next step.

Step 7: Pin The Pin:
Take a thumb pin. Use a thumb pin that has a long pin.
Push the thumb pin on the centre of the origami paper where all the corner folds are overlapped.

Step 8: Last Fold:
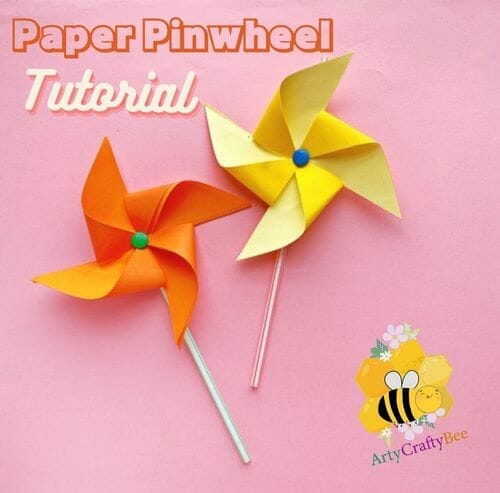
Now take a plastic draw, and push the thumb pin with the top of the straw to finish making your DIY paper pinwheels craft.
How To Use Use Thes Paper Pinwheels Craft For Kids:
This is a fun kid’s craft on how to make paper pinwheel decorations. You can make these pinwheels without a pin as well. This paper pinwheel spins as well. Kids can have a great time playing with these pinwheels.
If you are looking for paper pinwheels craft for toddlers, you can ignore using a pin. I have a reference on how to make paper pinwheels craft without a pin in the link below. If you also don’t want to use a plastic straw, you can make these paper pinwheels craft using a popsicle stick too.
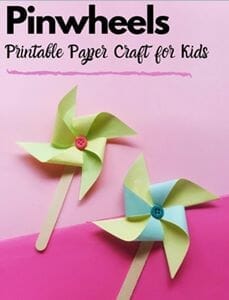
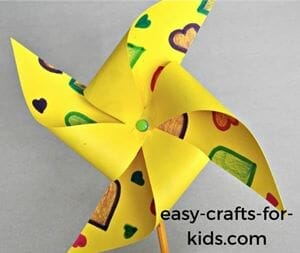
This can also be a double-paper pinwheel tutorial.
Find out more kids crafts on our blog. Inspire your kids, to make fun crafts and help them uncover their creativities.


We make fun kids crafts every day, so please stay tuned with our Arty Crafty Bee Family to learn more craft tutorials and ideas.


