How to Fold an Origami Bat: Easy Origami Bat Instructions (2 Designs)
Are you looking for an easy origami bat craft?
Learn how to make a origami bat with origami bat easy step by step instructions.
The first one is a simple origami bat direction. You can watch the video or follow the step by step images to make this Halloween origami bat

The second tutorial on origami bat directions is slightly difficult, but I will tell you it is worth a try.
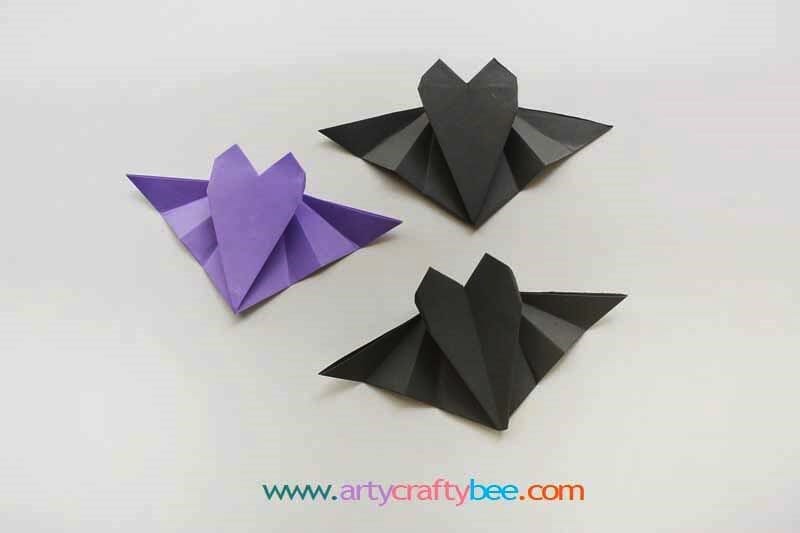
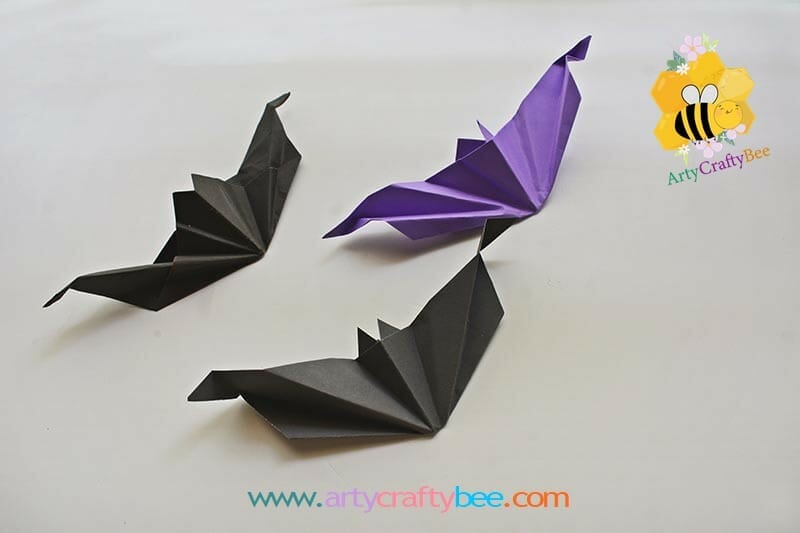
I have created two unique origami bat patterns, especially for you, you can use these origami paper bats for Halloween decorations.
This easy Halloween origami bat craft tutorial is also suitable for kids.
How to Make an Origami Bat: Step by Step Origami Bat
Step 1: Prepare The Origasmi Paper:
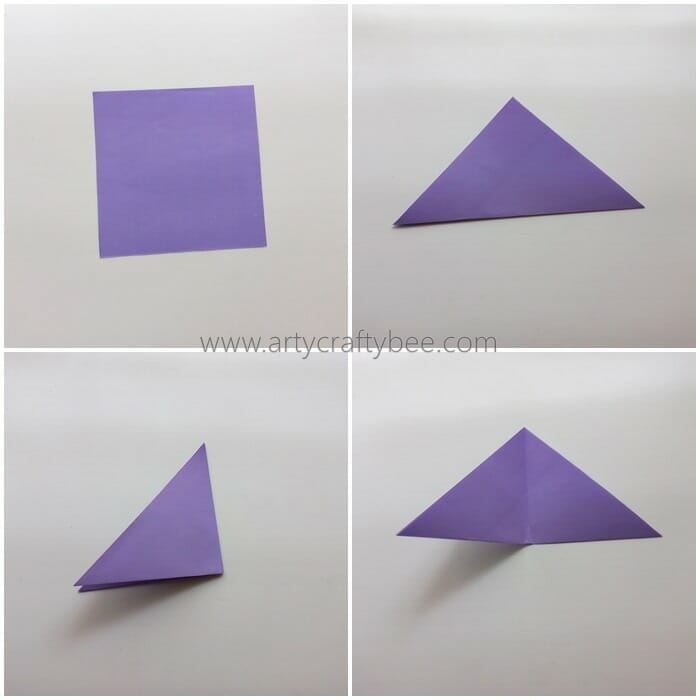
Select a paper for the bat craft. You can use colorful origami craft papers and also basic craft papers.
Fold the paper diagonally in half.
Then, fold it vertically in half.
Open the fold.
Step 2: Make The Main Creases

Bring the left point upwards.
Bring the right corner upwards.
Open the folds.
Bring the left point inwards, Fold the diagonal crease along the crease in the middle.
Step 3: Make The Creases For The Wings:
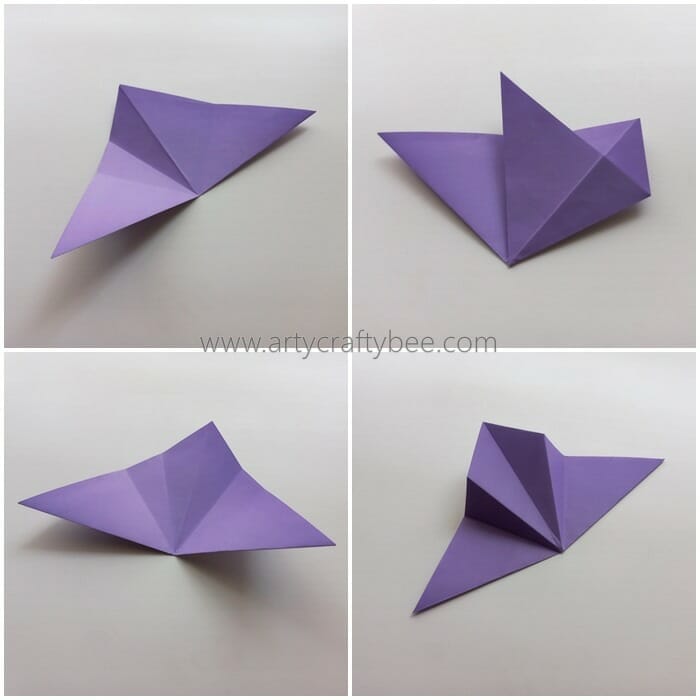
Open the fold.
Similarly, bring the right diagonal crease along the middle crease.
Open the folds.
Flip the origami piece over to the other side and slightly crease it along the crease lines.
Step 4: Make The Origami Bat’s Body
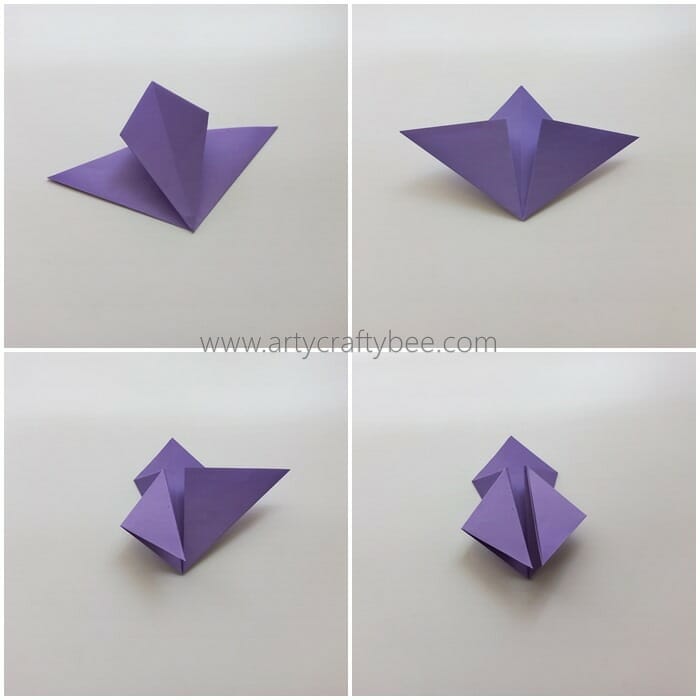
Fold the left and right flaps in the back.
Flip it over.
Bring the left top point downwards.
Also, bring the top right point downwards.
Step 5: Crisp The Creases

Open the folds.
Fold the left flap along the diagonal crease we created in the previous step.
Also, bring the top right point along the right diagonal crease.
Open the folds.
Step 6: Finish Making The Creases

Fold the left flap along the top diagonal crease and along the crease in the middle.
Similarly, fold the right flap along the top diagonal crease and along the crease in the middle.
Open all the folds.
Turn in over to the front side.
Step 7: Cut The Ears For Bat:
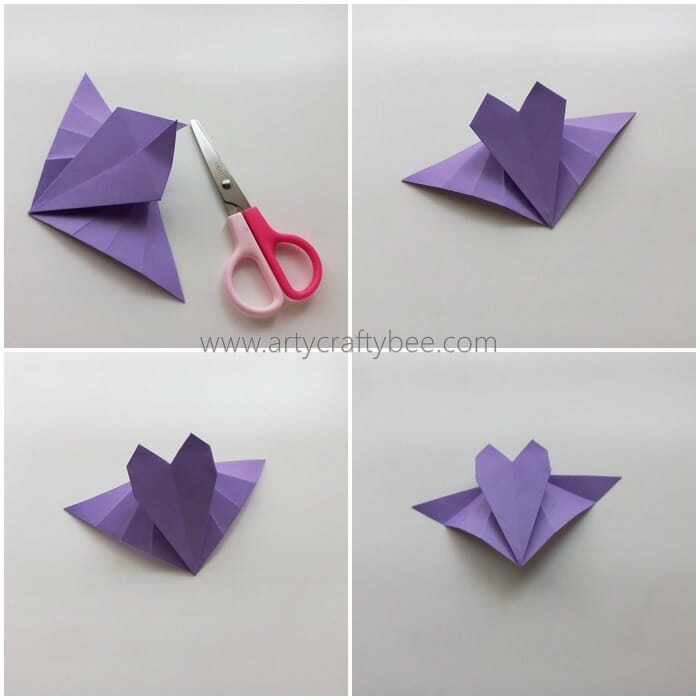
Use scissors to cut pointy beards on the top.
Fold the two sides of the head.
Shape the wings along the creases.
Origami Bat Pattern 2
Watch Video Tutorial: How to Make Origami Paper Bat Craft For Halloween
Step 1:
Select what color you want your origami paper bat to be. You can use origami craft papers, and if you don’t have origami craft papers you can make the origami paper bats using usual craft papers. Cut the craft paper into a square shape and place it diagonally on the table.
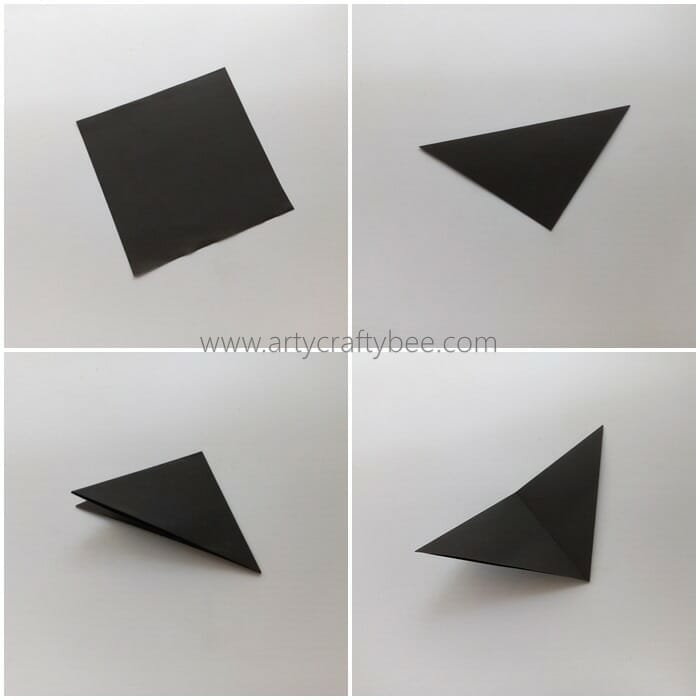
Fold the Square craft paper diagonally in half.
Then, fold the triangular paper vertically in half.
Open the vertical fold.
Step 2:
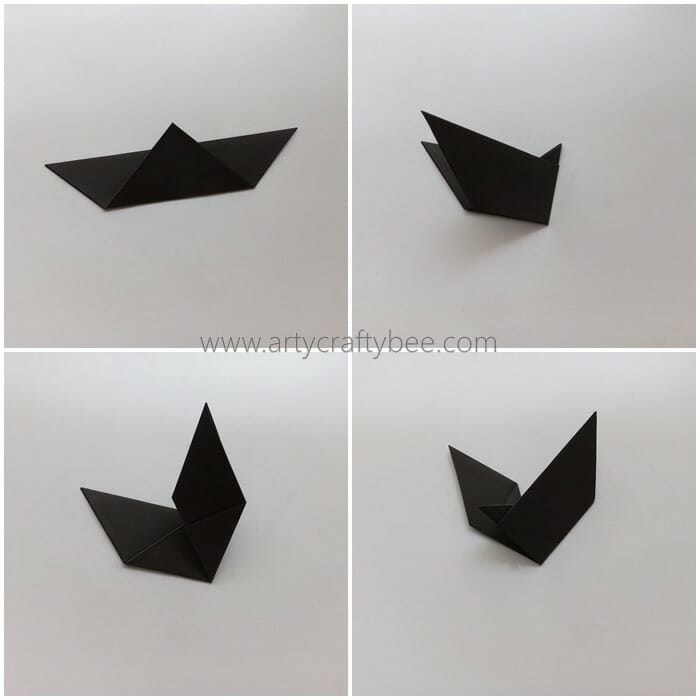
Take the bottom point of the folded piece and bring it upwards, fold it slightly a little further from the top edge.
Then, fold it along the vertical crease in the center.
Take the top flap and bring it backward, and fold it along the right edge.
Turn it over to the other side.
Step 3:

Similarly, Fold the Left Flap of the origami bat.
Make another vertical fold on the origami bats wing.
Turn the other side and make a vertical fold on the wing.
Take the top part of the folded wing and make another fold.
Step 4:
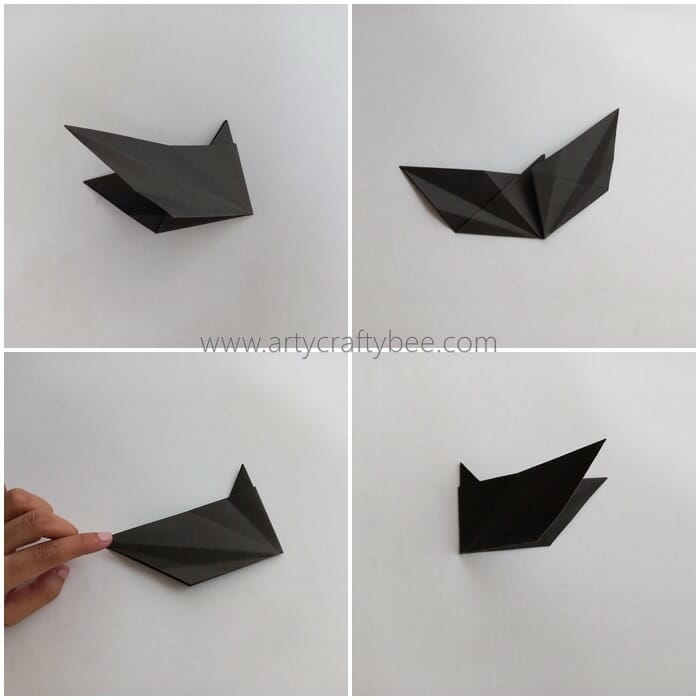
Open up all the folds on the wings,
Fold one wing along the center and the first diagonal crease on the wing.
Open the fold, and you will see 5 crease lines on the wings.
Flip it over to the other side.
Step 5:
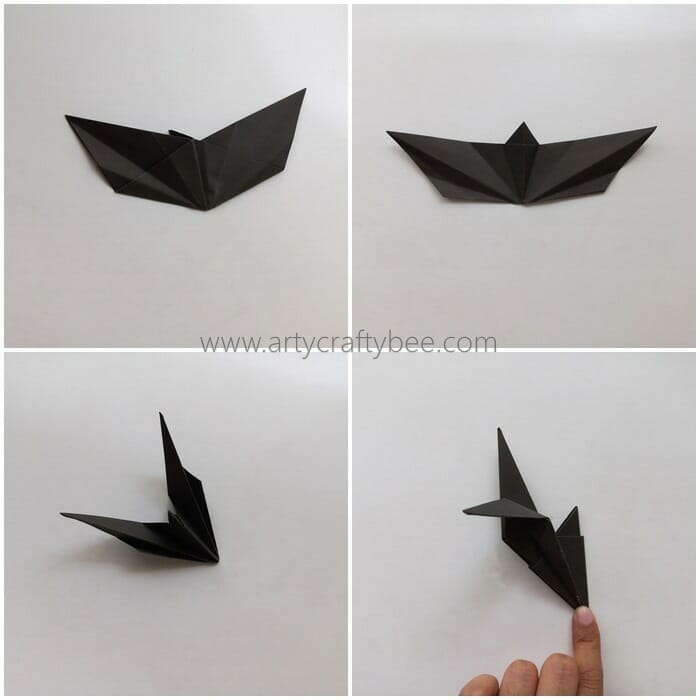
Like we did on Step 14 repeat that on the other wing.
Gently open the fold without flattening the creases.
Carefully, make the creases crisp and fold them back into their position. Our origami bat is almost ready.
Take the tip of the wing and fold it outwards.
Step 6:

Similarly, fold the other wings tip outwards.
Slightly open the half fold.
Take a pair of scissors and carefully cut the center point vertically.
Fold the cut areas to make the origami paper bats ear.
Follow the easy origami bat youtube video tutorial if step by step image directions are not your thing.
Do you want to see more fun Halloween Crafts? Here are some Halloween Crafts you might enjoy making with the kids.