How To Make Quilled Squirrel Greeting Card Craft (With Free Templates)
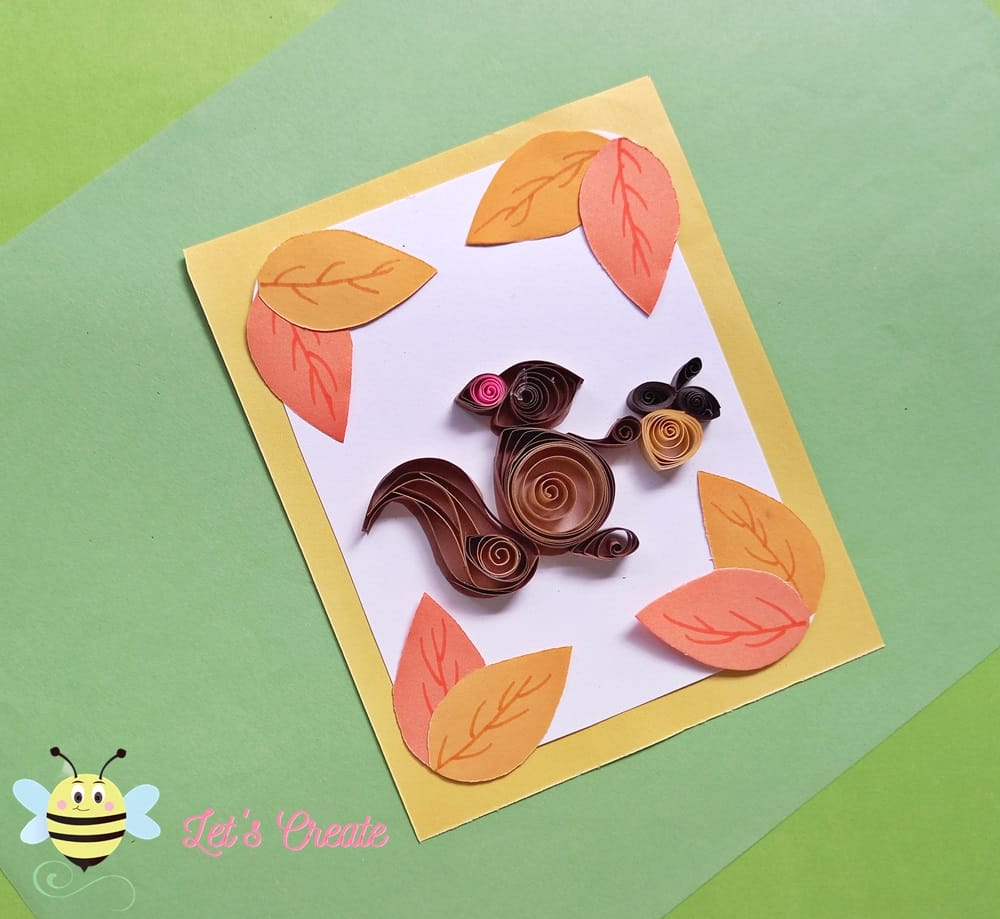
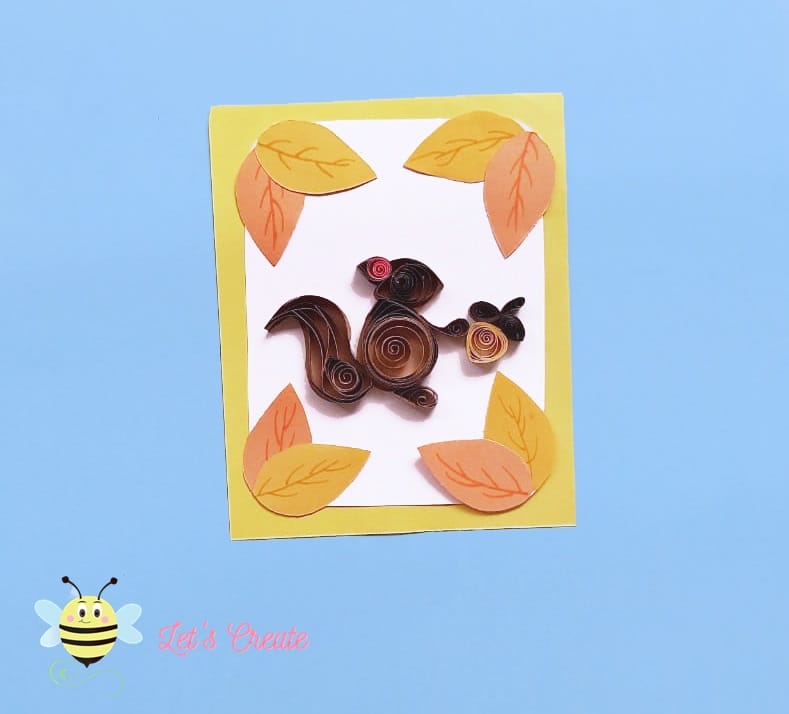
Do you want to learn how to make a quilled card craft project in just 30 minutes? Check out this tutorial to learn how to make this quilled squirrel craft step by step.

Do you like quilling crafts? I love to make quilled crafts.
It’s not only fun but also very relaxing. Even though it can be time-consuming but it’s worth the time.
I have this very fun to make easy quilled squirrel card craft for older kids. Check out this very easy quilled squirrel card craft step by step and make something fun for this fall season. Squirrels are so adorable, if you are looking for quilling project ideas then this paper quilling squirrel card craft is perfect for this season.
How To Make An Easy Quilled Squirrel Card Craft
Free Template
Supplies
- Cardstock Paper.
- Quillng Papers.
- Quilling Tools.
- Pencil.
- Ruler.
- Scissors.
- Glue.
- Craft papers.

Instructions
I will show you how to make this easy quilled squirrel card craft ste[ by step in this tutorial below.
Total Time: 30 minutes
Step 1: Cut Out The Squirrel And Prepare The Card
Cut out the squirrel from the templates. Then select a card for your quilling art craft. Glue the squirrel’s template on the card. You will use this template to trace and glue the paper quilling strips.
Step 2: Start Making a Loose Coil:
Take a long brown quilling strip (5 – 6 inches).
Use the quilling tool to roll the quilling strip.
Step 3: Glue The Teardrop Shape
Make the brown quilled coil into a teardrop shape.
Glue the teardrop shape over the squirrel’s face.
Step 4: Prepare The Squirrel’s Ear
Roll the pink and brown quilling strip into a tight teardrop shape. Then, glue it over the squirrel’s ear.
Step 5: Glue The Squirrel’s Ear
Roll the pink and brown quilling strip into a tight teardrop shape. Then, glue it over the squirrel’s ear. 
Step 6: Make A Long Brown Strip:
Take two shaded brown strips and join the ends together using glue.
Step 7: Glue The Loose Coil
Roll it into a closed coil, and then glue it over the squirrel’s body.
Step 8: Make The Tail’s Border
Glue a brown quilling strip around the edges of the squirrel’s tail.
Step 9: Fill In The Squirrel’s Tail
Glue a different shades strip inside the tail.
Step 10: Finish Making The Squirrel’s Tail
Fill in the tail using more quilling strips and coils.
Step 11: Make The Squirrel’s Paw And Claw
Then make a small and long teardrop shape using brown quilling papers (for claw and paw).
Step 12: Make The Acorn
Now, make a small triangular shape using a light yellow quilling strip, and 3 small brown teardrop shapes (for the acorn).
Step 13: Glue The Acorn:
Glue the claw and paw with the squirrel craft And then, glue the acorn together
Step 14: Cut Out The Leaves
Cut out the leaves from the PDF template.
Step 15: Glue The Leaves
Decorate the card using the leaves and your easy but fascinating squirrel craft is ready.
How Kids Can Use Quilled Squirrel Card Craft:
Since it is fall season there are numerous ways you can use this quilled squirrel’s craft. You can use this as a gift card or greeting card to send to your loved ones. You can also use this quilled card as a wall decoration. You can also frame this and put it on your desktop or table.

I know this quilled squirrel card craft is for older kids and also a bit time-consuming but it is worth a try because it looks absolutely amazing. I hope you have fun making this quilling squirrel card craft with your kids at home this weekend.
Check out this amazing super easy Quilled Egg Easter Craft.
And stay tuned here to see more fantastic easy kids crafts every week.


