Easter Bunny Crafts For Toddlers With Paper Cup Easy (3 Ideas)
Are you looking for easter bunny craft activity for kids this Easter?
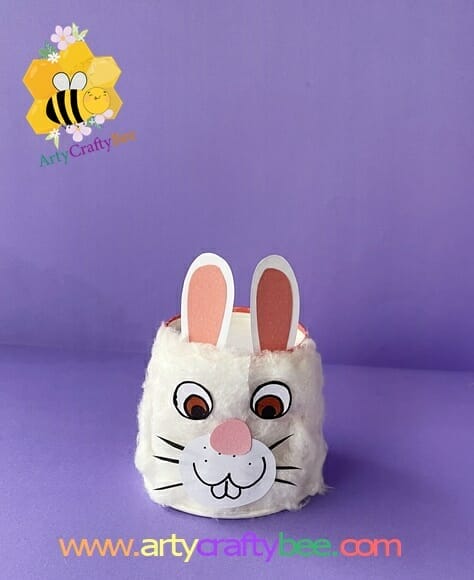
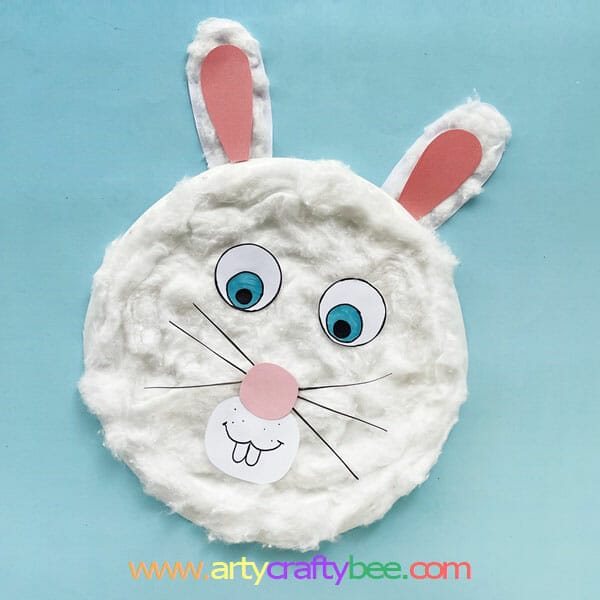

I have three kinds of Easter bunny craft ideas you can make for Easter. These crafts are suitable for Easter bunny crafts for toddlers.
Here is the list of three fun easter crafts we will be doing today.
- Paper Cup Easter Bunny Craft.
- Plastic Cup Easter Bunny Craft, and
- Paper Plate Bunny Craft.
How To Make Paper Cup Bunny For Easter:
List of tools and materials:
- Paper Cup.
- Acrylic Paint.
- Paintbrush.
- Colorful Craft Papers.
- Pencil.
- Scissors.
- Glue.
Easter Bunny Paper Craft Template:
Paper Plate Easter Bunny Printable Template.
Easter Bunny Craft Activity Step-by-step Instructions:
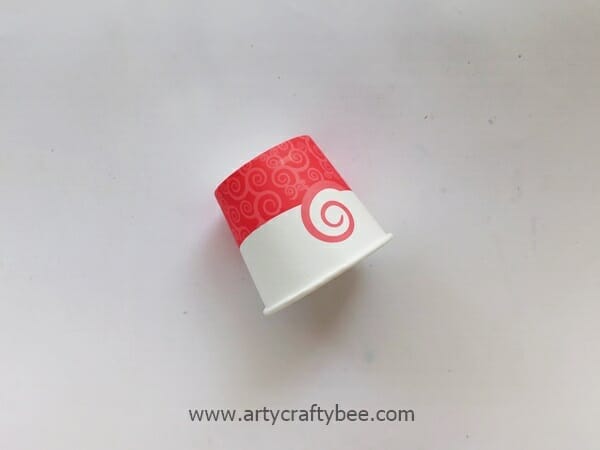
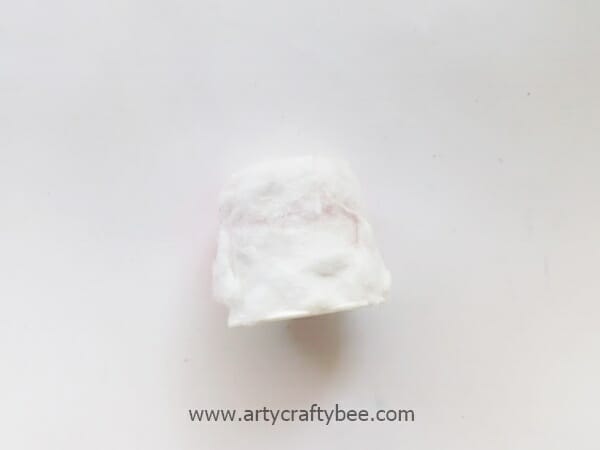
Step 1: Easter Bunny Craft Cup
Select the paper cup you want to use to make your paper cup easter bunny crafts for toddlers.
Step 2: Easter Bunny Craft Cotton Balls
Take cotton balls and slightly pull them to make them flatter.
Then, apply glue to the paper cup.
And glue the cotton on the paper cup.
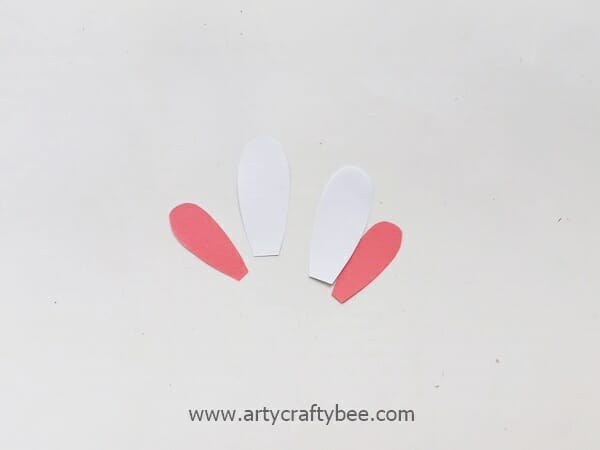
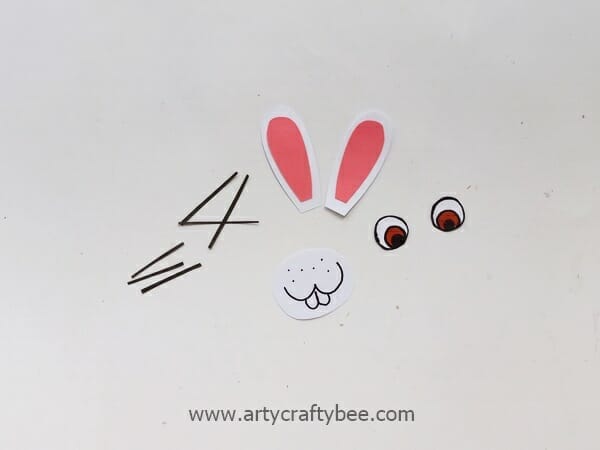
Step 3: Easter Bunny Craft Printable Template:
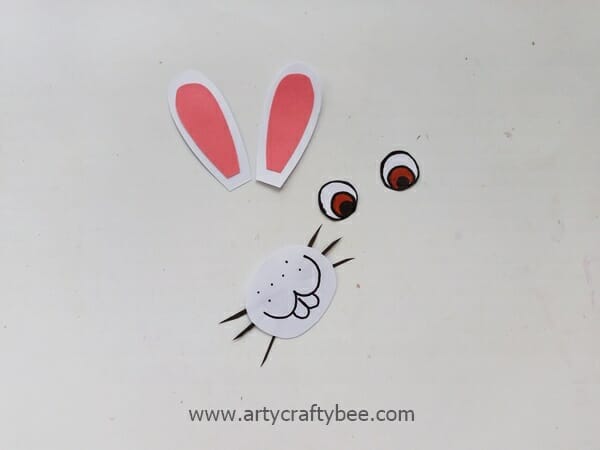
Cut out the ears for the paper cup easter bunny craft using the PDF templates I have attached above.
Step 4: Prepare The Ears For the Easter Bunny paper Cup Craft:
Glue the smaller pink pieces of the ears inside the large white paper patterns of the ears.
Use a brown and black marker pen to draw the eyes on the circular craft papers.
Then, use a black marker pen to draw the mouth and the teeth on the oval shapes of white craft paper.
Step 5:Prepare The Mouth For Easter bunny Crafts For Toddlers
Glue the black thin craft paper strip whiskers on the mouth.


Step 6: Easter Bunny Craft Tutorial Step Six:
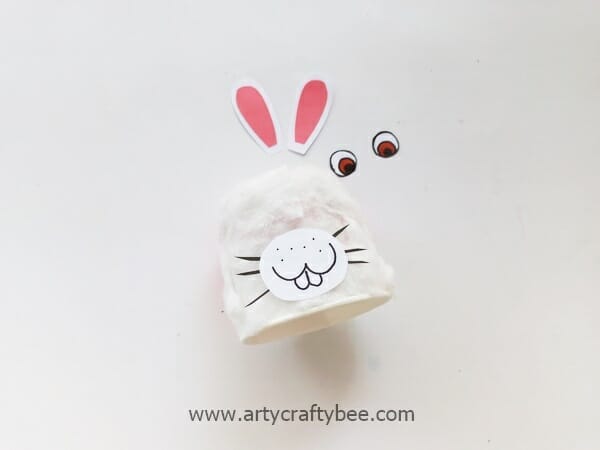
Glue the easter bunny’s mouth on the bottom part of the cotton-covered paper cup.
Step 7: Paper Cup Easter Bunny Craft Tutorial Final Step:
Glue the paper cup bunny’s eyes above the mouth.
Then, glue the ears to the cup to finish the craft.
Plastic Cup Esater Rabbit Craft For Kids:
Supplies:
1. Plastic cup.
2. Craft papers.
3. Pom poms.
4. Pencil.
5. Scissors.
6. Marker pens.
7. Googly eyes.
Instructions:
Step 1:

To start making your easter bunny craft print the templates and cut out all the patterns to make the bunny with a plastic cup or paper cup.
Step 2:
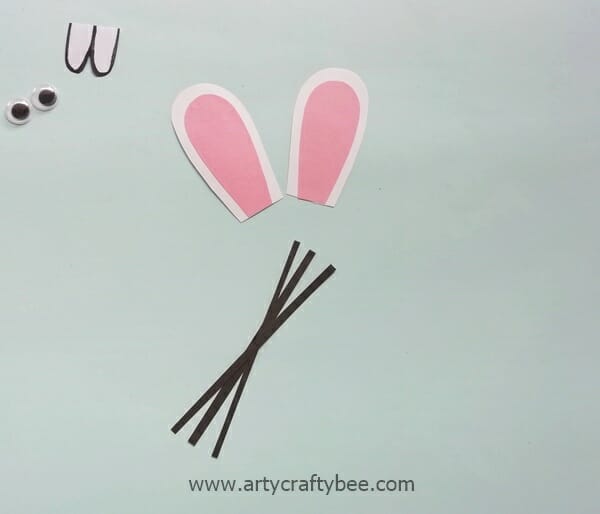
Glue the small ear patterns inside the larger pieces.
Then glue the middle part of the three whiskers together.
Step 3:
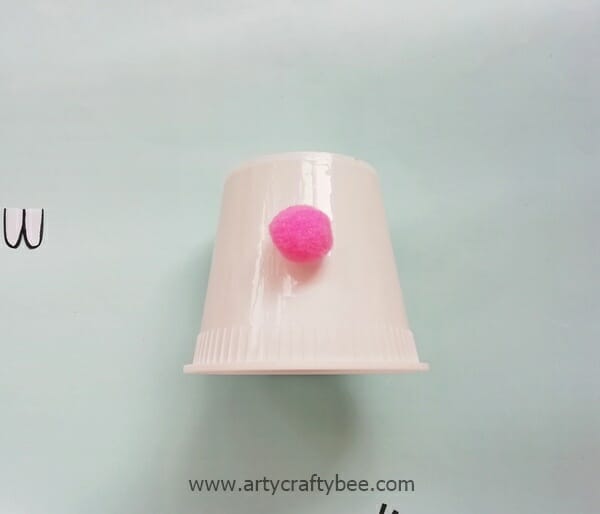
Take the pom-pom and glue it in the middle part of the plastic cup.
Step 4:
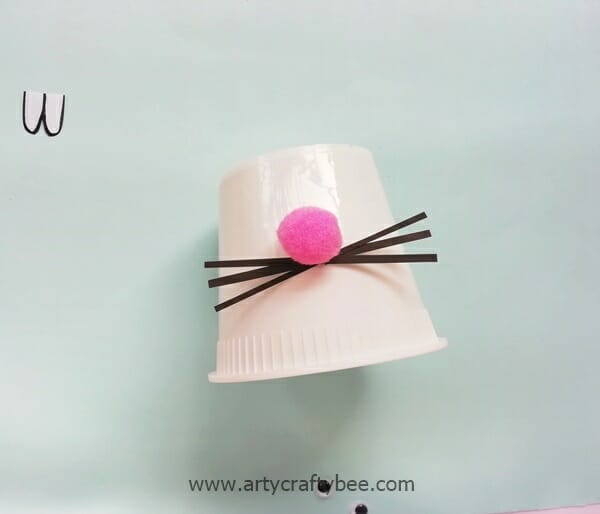
Then, glue the whiskers right below the pom-pom.
Step 5:
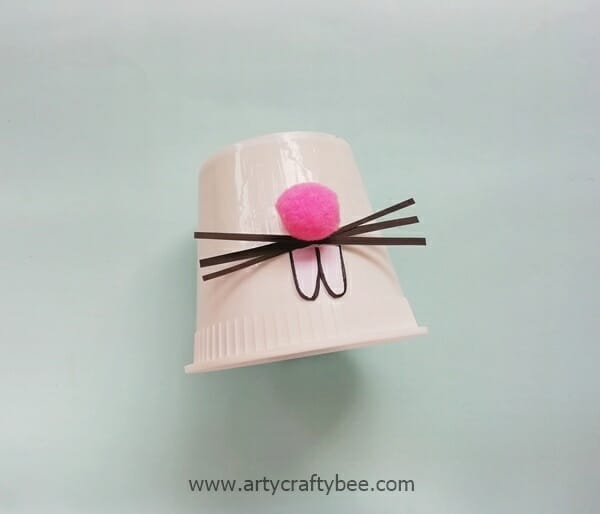
Now, glue the bunny’s teeth under the whiskers.
Step 6:
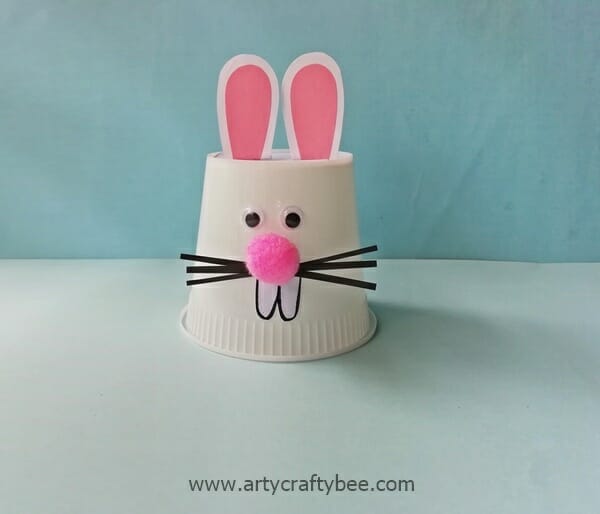
Glue two googly eyes right above the pom-pom nose.
Then glue the ears on the top of the cup.
You can use a hot glue gun for these steps.
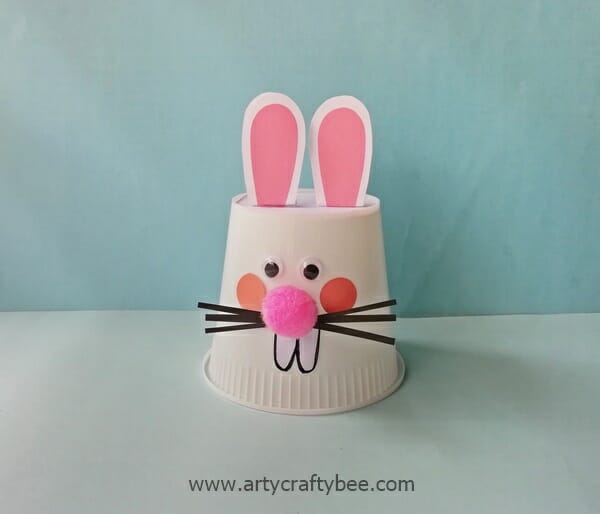
Step 7:
Then finish it off by gluing the cheeks on both sides of the teeth
Paper Plate Bunny Craft:

Step 1:

Cut out the easter bunny ears from the PDF templates.
Take some cotton and glue them on the larger ears patterns.
Glue the pink smaller patterns of the easter bunny on the larger ear pattern.
Take a blue and black marker pen and draw the easter bunny’s eyes.
Draw the teeth on the easter bunny’s mouth (the oval piece).
Step 2:
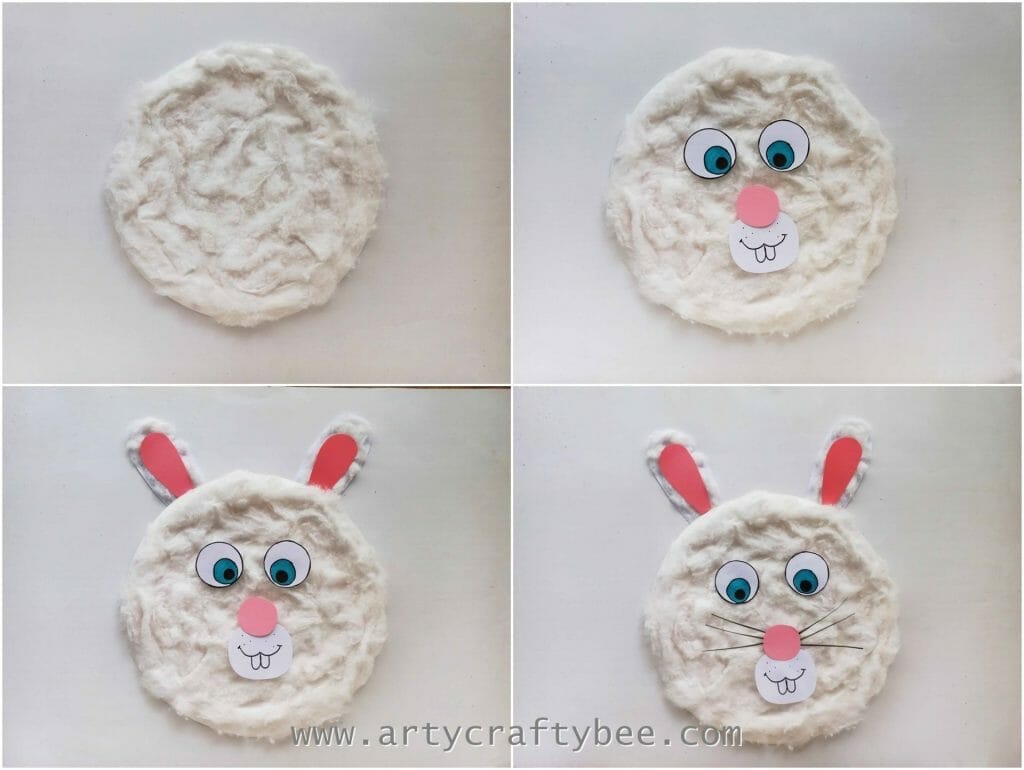
Select a paper plate to make your paper plate easter bunny craft:
Take more cotton and cover the entire paper plate using the cotton.
Glue the bunny’s eyes on the top part of the paper plate.
Then glue the mouth and nose below the eyes.
Glue the ears on the two sides of the top part of the paper plate.
Glue the bunny crafts whiskers on the two sides of the bunny crafts nose.

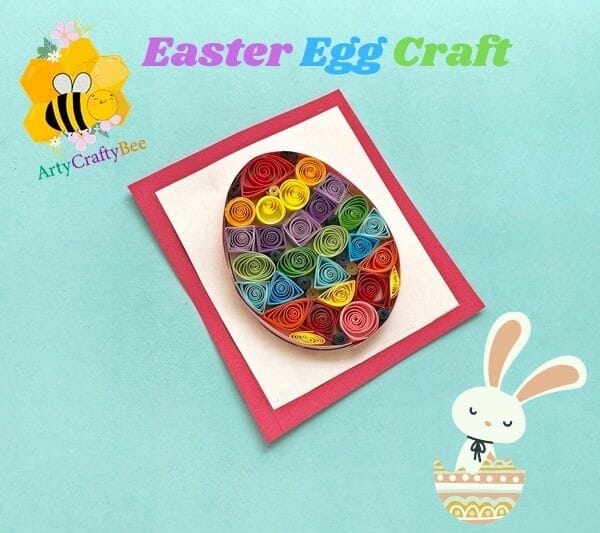
Have you enjoyed these easter bunny paper craft ideas? We have a few more easter crafts you might enjoy as well.
Learn to Make Easter Pop-Up Card Tutorial.
How To Make Easter Chick With Paper Cup.
EASY TOILET PAPER ROLL BUNNIES: A CUTE EASTER BUNNY CRAFT FOR KIDS!

