2D DIY Clay Ornament Ideas For Christmas Easy
Clay ornament DIY projects can be very fun for this Christmas.

If you are looking for clay ornament ideas to hang on your Christmas tree or decorate your home I think you’ll like this clay ornament tutorial
As a kid, me and sisters used to make different funny structures using clays. We only used play dough and sometimes real clay. I learned how to make clay structures from my grandmother. When we were kids she made tons of fun toys for us to play with using clay and paint. We had clay tea cups and teapots we used to play with.
Then during high school, I got really busy with studies and school work that I eventually didn’t make any clay crafts for a long time. Then my sister bought these air drying clay from a craft store nearby, which are so easy and fun to make. We made a few more clay ornaments and jewelry using air drying clay. I will be linking some of them here or there.
I don’t have any other DIY clay crafts in my blog, but I can show you a few more Christmas crafts I made. Two days ago I made this Quilled Star Craft Christmas Ornament and also made these Easy Christmas Gift Bags Tutorial.
My sister Muhaimina Faiz AKA Th Craftaholic Witch made these pretty clay earrings you must see.

Step By Step Instructions: How To Make Clay Ornament
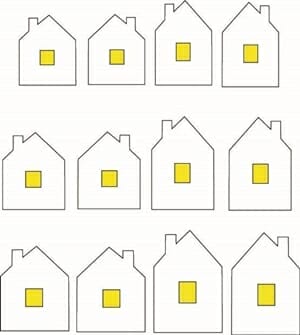
Download House Template
List of Supplies:
- Air dry clay
- Rolling pin and board
- Clay cutting knife
- Pencil or marker
- String
- Tapestry needle
Step 1:
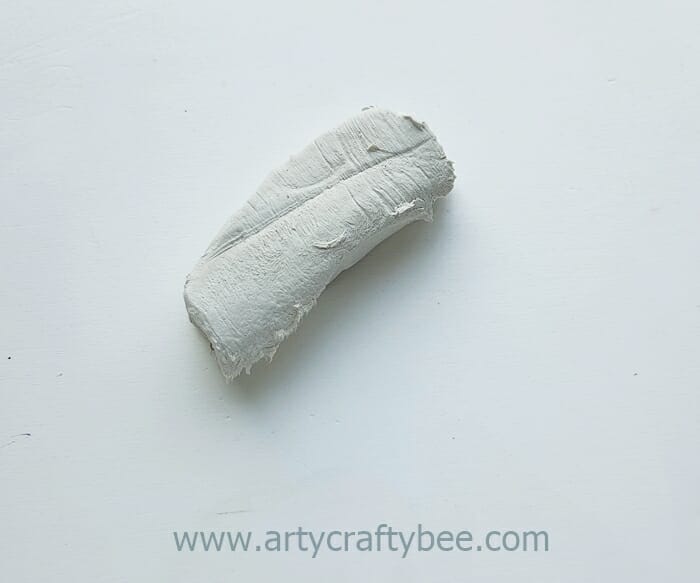
Cut out a slice from the air-dry clay bar, about 100 grams will do.
This depends on what size you want your ornaments to be. For larger sized clay house ornament you need more than 100 grams.
Step -2:
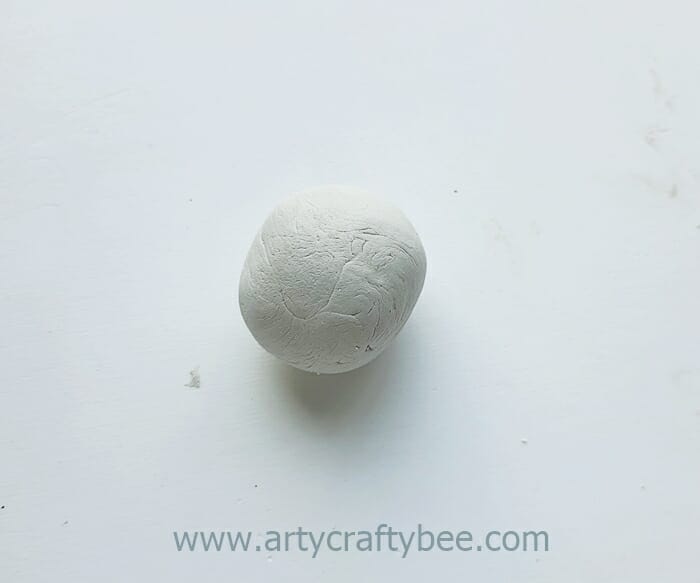
Knead the clay slice against a plain, non-sticky surface or on the rolling board and roll it into a ball shape.
Apply powder on your palms if you want to, because the clay sometimes sticks to your palms when you knead it.
Use a rolling board or a plain non-sticky surface to knead your clay dough into a smooth ball.
Step – 3:
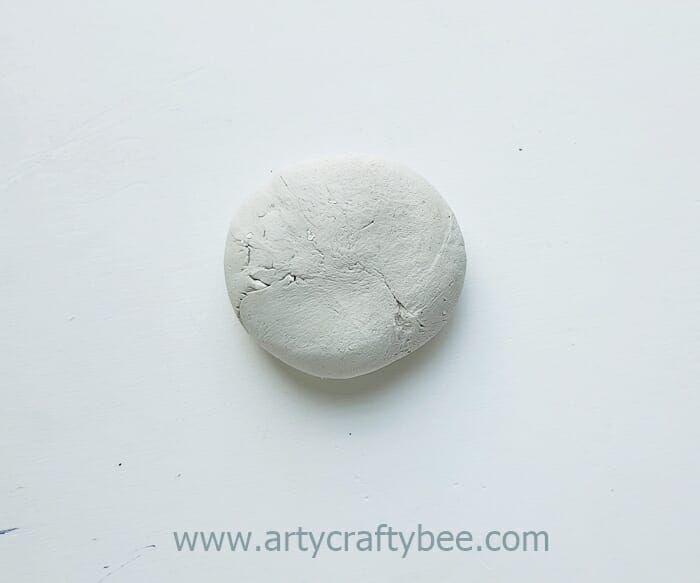
Slightly using your fingers to press the clay dough ball on the board to make it a little flat.
Step – 4:
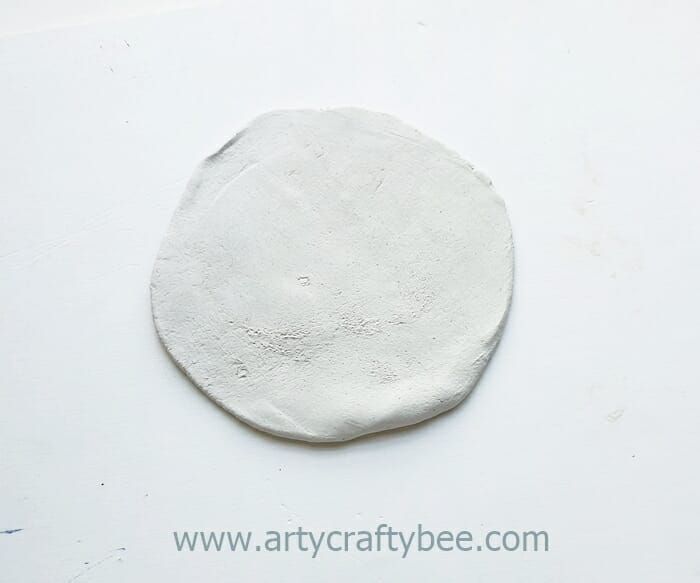
Take a rolling pin with a smooth base, then roll the clay dough to make it thin and flat.
Keep the thickness of the clay around 0.5cm.
You can make it thicker if you want to.
Step – 5:
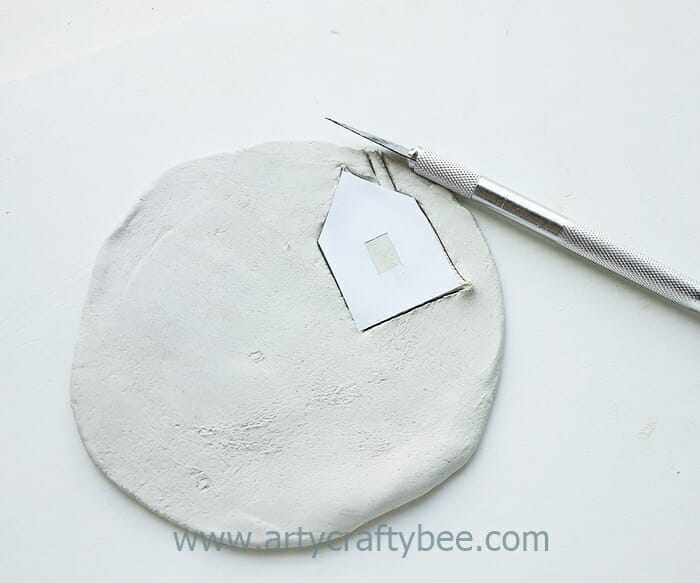
Go to the “download house pattern template” link and download the PDF template for the house pattern of your ornament.
Print the PDF file. Cut out the house pattern from the template and place it over your clay dough.
Now use an x-acto knife to cut the clay according to the outer lines of the house.
Step – 6:
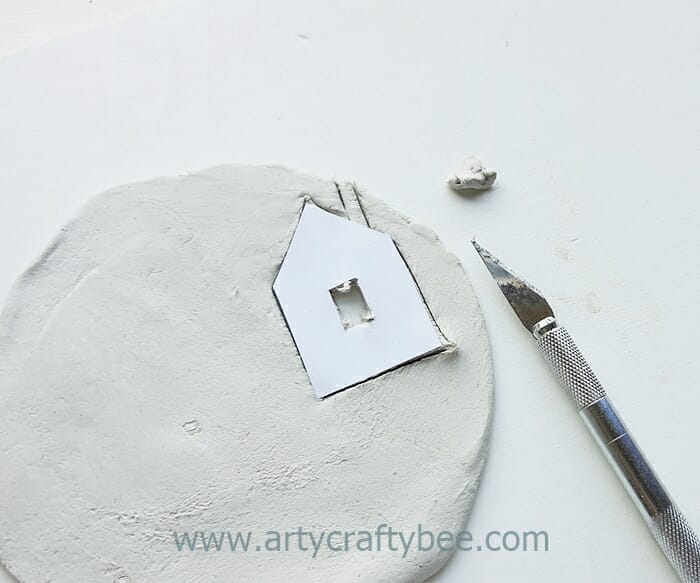
Now, use the knife carefully to cut out the square shape from the middle part of the house. Then remove the excess ay from the middle.
Step – 7:
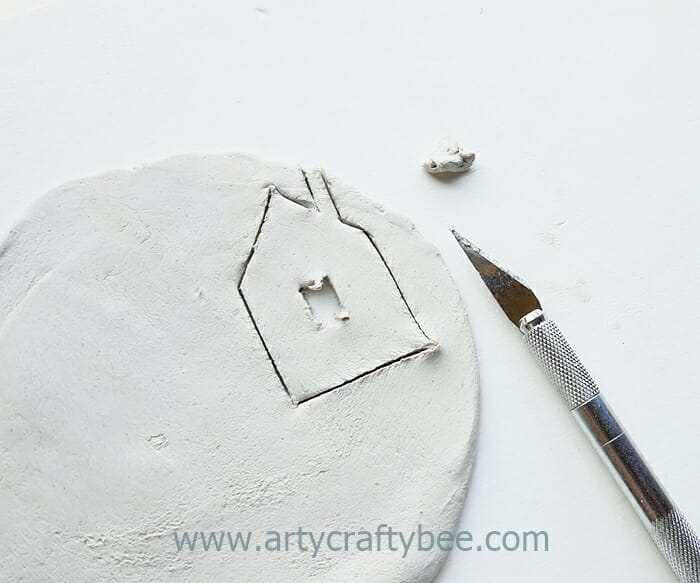
Once you have finished cutting remove the paper House pattern from the clay dough.
Step – 8:
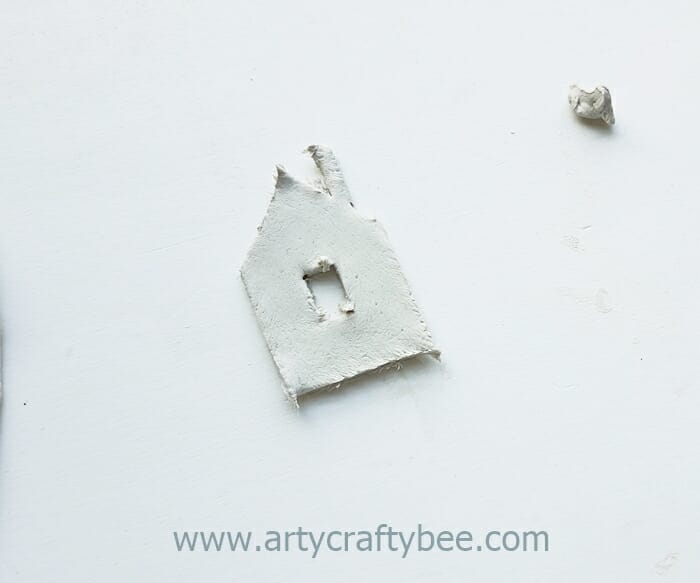
Now, in this step, you have to be very careful.
Remove your cut-out piece of clay house carefully from the rest of the clay dough and put it aside.
Step – 9:
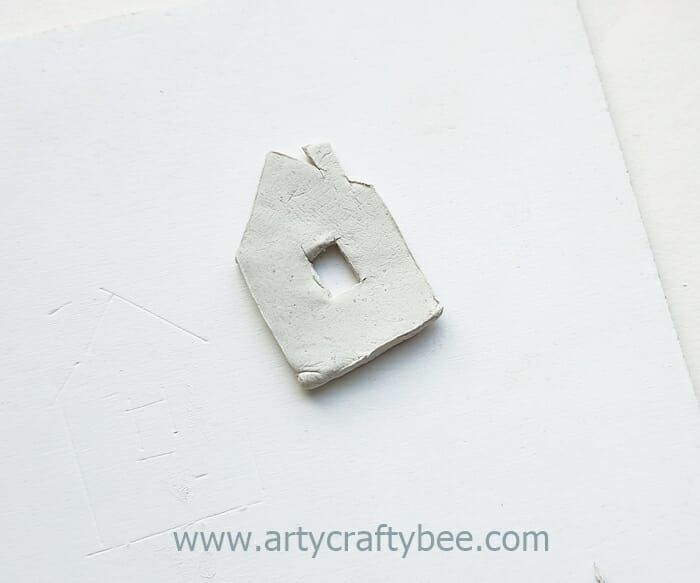
The edges of your clay house pattern might not be very smooth after cutting it. So gently use the tip of your fingers to smooth out the edges of the clay house pattern.
Step – 10:
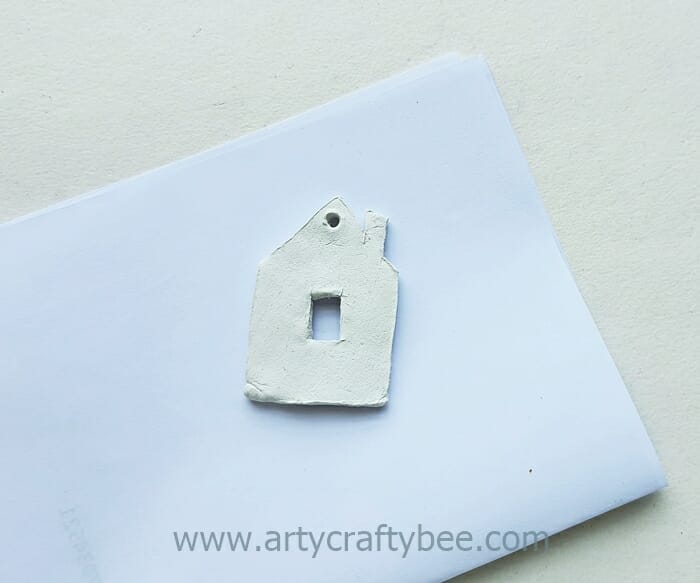
Use a tapestry needle or any other round and thick needle-like object to make a hole on the top middle part of the clay house pattern. Do this while the clay is still soft. Leave the clay house ornament to dry down properly overnight.
Step – 11:
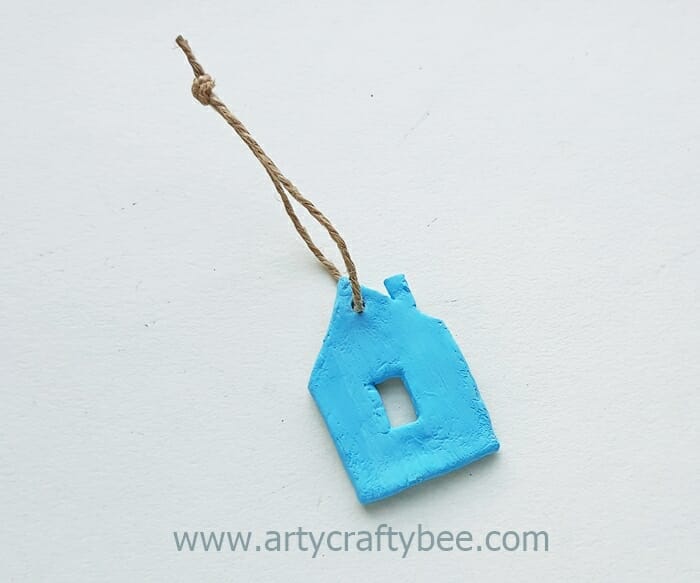
Once the clay is fully dried, you can paint it with acrylic paint.
To hang your clay house ornament, you need to cut out a piece of twine or thread.
Then out the thread through the hole on the top, which we made earlier, tie a knot on the top, and create a loop in the middle.
How To Use This Clay Ornament Craft?
Make these clay ornaments to paint and hang on your Christmas tree.
You can buy clay ornament molds to make this craft, but I have a much easier and less costly way for you. I have made 6 different-sized templates for this clay ornament craft.

