How to Make Paper Tulips: Step-by-Step Paper Tulips
Paper tulips are a beautiful and easy DIY craft that can brighten up any space without needing water or sunlight! Whether you’re making them for home decor, a special gift, or a fun craft project with kids, these paper tulips are simple to create and last forever. In this guide, I’ll show you a step-by-step method to make stunning paper tulips with just a few materials.
Paper tulips are super versatile! They can be used as cute decorations for parties, weddings, or home decor with paper tulip bouquets. You can also turn them into gift toppers, and bookmarks, or even use them for scrapbooking. Plus, they’re a fun craft project for kids or a great DIY gift for loved ones!
How To Make Paper Tulips Step by Step
Gather Your Materials
Before you start, make sure you have:
- Colored paper (green for stems and leaves, any color for petals)
- Scissors
- Glue or tape
- A pencil
- A ruler
- A wooden stick or straw (for the stem)
Paper Tulips Template
Click to download the paper tulip template
Instructions:
Step 1: Cutting the Petals
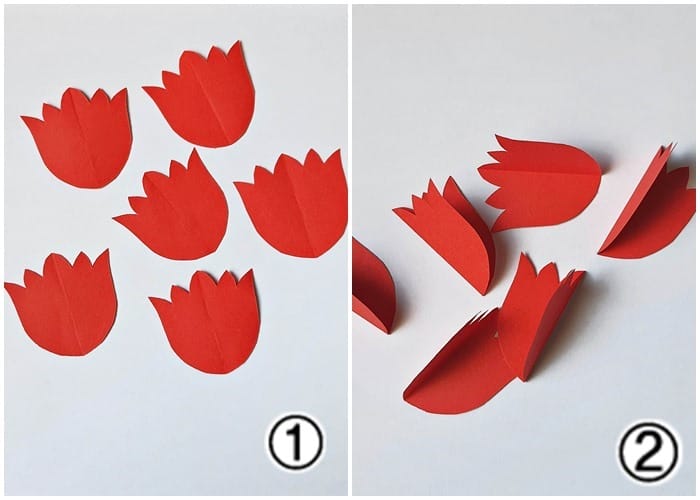
To begin making your paper tulip flowers, first download the tulip flower template PDF. Choose the color you want for your tulip petals—traditional red, yellow, or even a mix of bright colors! Using the template, cut out the petal shapes from your craft paper.
Step 2: Folding the Petals
Once the petals are cut out, fold each one vertically in half. This fold will create a more natural curve to your tulip petals and make them look more lifelike when they come together.
Step 3: Gluing the Petals Together
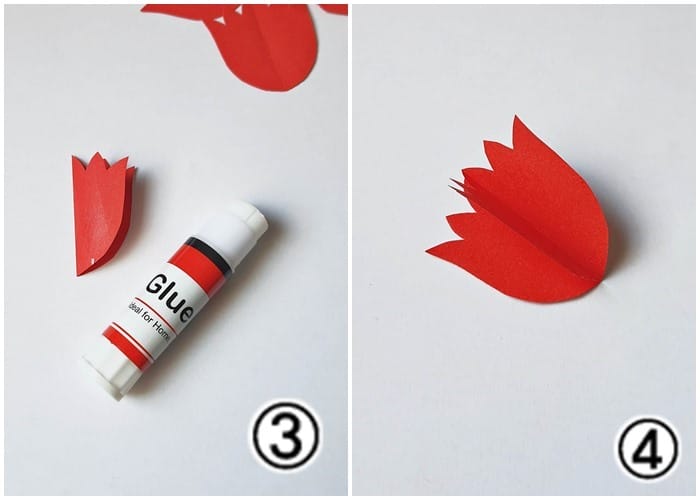
Next, apply glue to one side of the folded petal. Be careful not to use too much glue, as you want the petals to stick together securely without any excess oozing out.
Step 4: Attaching the Next Petal
Take another folded petal and glue it to the first one. Press them together firmly to ensure a strong bond. Repeat this process, attaching the folded petals one by one, to form the shape of your tulip flower.
Step 5: Continue Gluing Petals Together

Continue gluing petals together, making sure that the edges align. For the best results, glue three petals together at a time. This will form the outer shape of your tulip and give it a fuller appearance.
Step 6: Completing the Tulip Flower
Create two separate groups of three petals each. These will form the top layers of your tulip. Once both sets are completed, glue them together to create the full flower shape. Be sure to let the glue dry before moving on to the next steps.
Step 7: Creating the Stem and Leaves
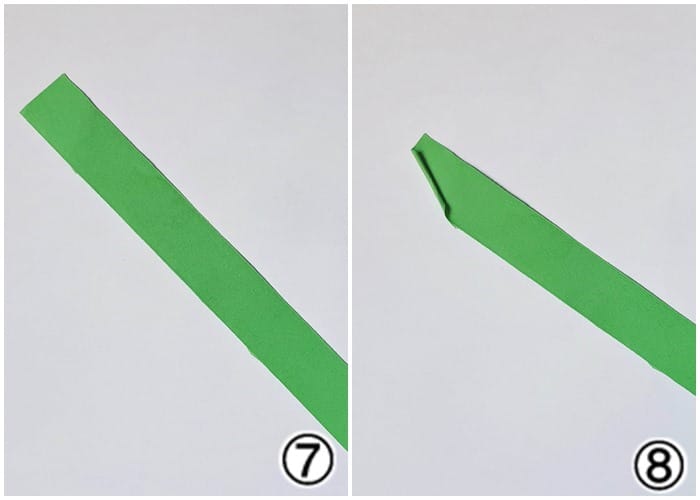
Now it’s time to work on the stem and leaves. Take a green strip of craft paper and begin rolling the corner of the strip diagonally. The rolling technique will create a sturdy stem for your tulip flower.
Step 8: Rolling the Stem
Continue rolling the green craft paper strip into a stick-like shape. Make sure to glue the end of the paper to prevent it from unraveling. This will serve as the tulip’s stem.
Step 9: Attaching the Flower to the Stem

Once the stem is securely rolled, it’s time to attach your tulip flower. Apply glue to the top of the stem and carefully press the glued petal set onto it. Hold the flower in place for a few seconds to ensure it stays attached.
Step 10: Cutting Out the Leaves
Next, use your tulip flower template to cut out the leaves from a piece of green craft paper. Tulip leaves are long and narrow, so be sure to shape them accordingly for a realistic look.
Step 11: Gluing the Leaves to the Stem
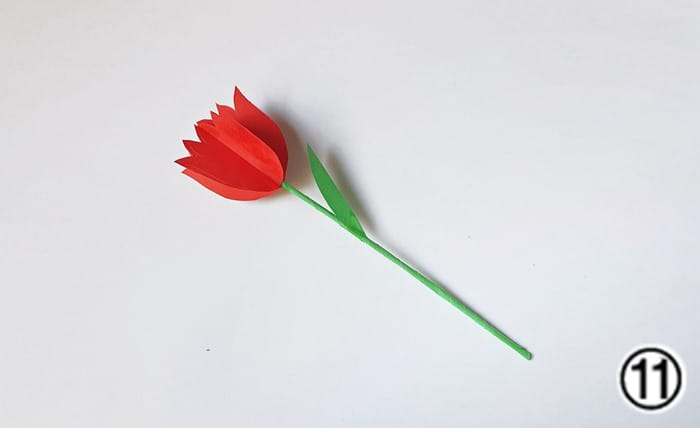
Finally, glue the leaves to the stem beneath the flower. Press them firmly into place so that they appear naturally attached to the stem. Once the glue is dry, your paper tulip flower craft is complete and ready to display!
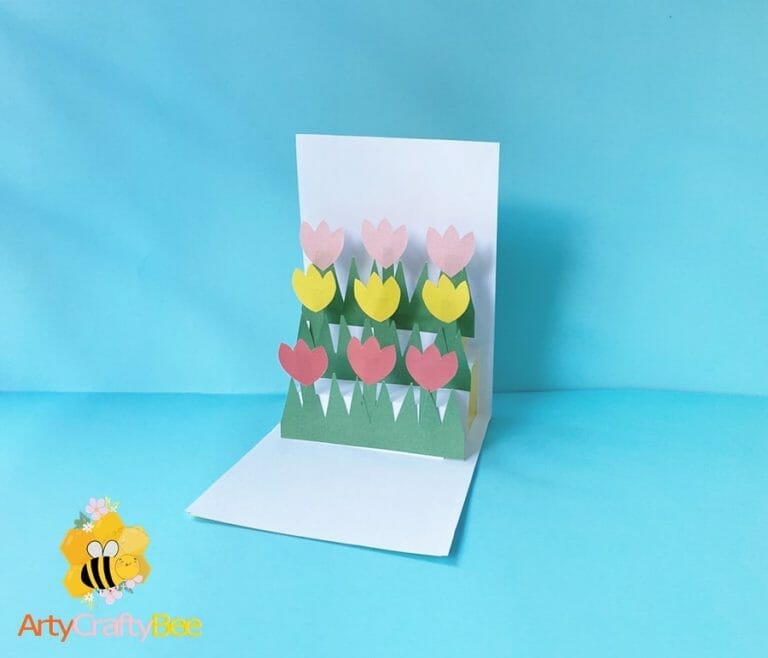
Paper Tulips DIY Craft
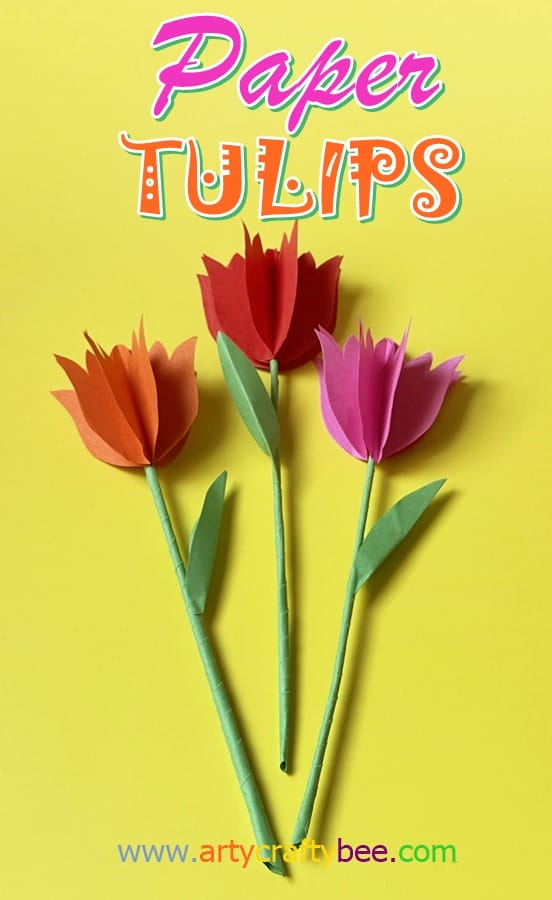
And there you have it—a beautiful paper tulip that never wilts! This easy and fun craft is perfect for decorating your home, making handmade gifts, or even teaching kids about flowers creatively. Try experimenting with different colors and sizes to create a stunning paper tulip bouquet.
Discover similar crafts
How To Make an Origami Tulips Flower
Happy crafting and Thank yu for bee-ing with our Arty Crafty Bee Family.